

The ultimate guide to juicing (juicer or blender methods), is a comprehensive guide to all things juice. Beginner tricks, best practices, storage tips and FAQs are included!
If you have any interest in juices, from making them to consuming them, this ultimate juicing guide is for you! Making and drinking homemade juices is not only fun, but it’s a great way to increase your intake of plant-based vitamins and minerals.
If you’re a complete beginner, you’ll find tons of information in this juicing guide to help you get started and master the homemade juice. In addition to what type of juicer to buy (or if you even need one at all!) and how to get started juicing, there’s also tidbits on juicer best practices so you feel confident when juicing.
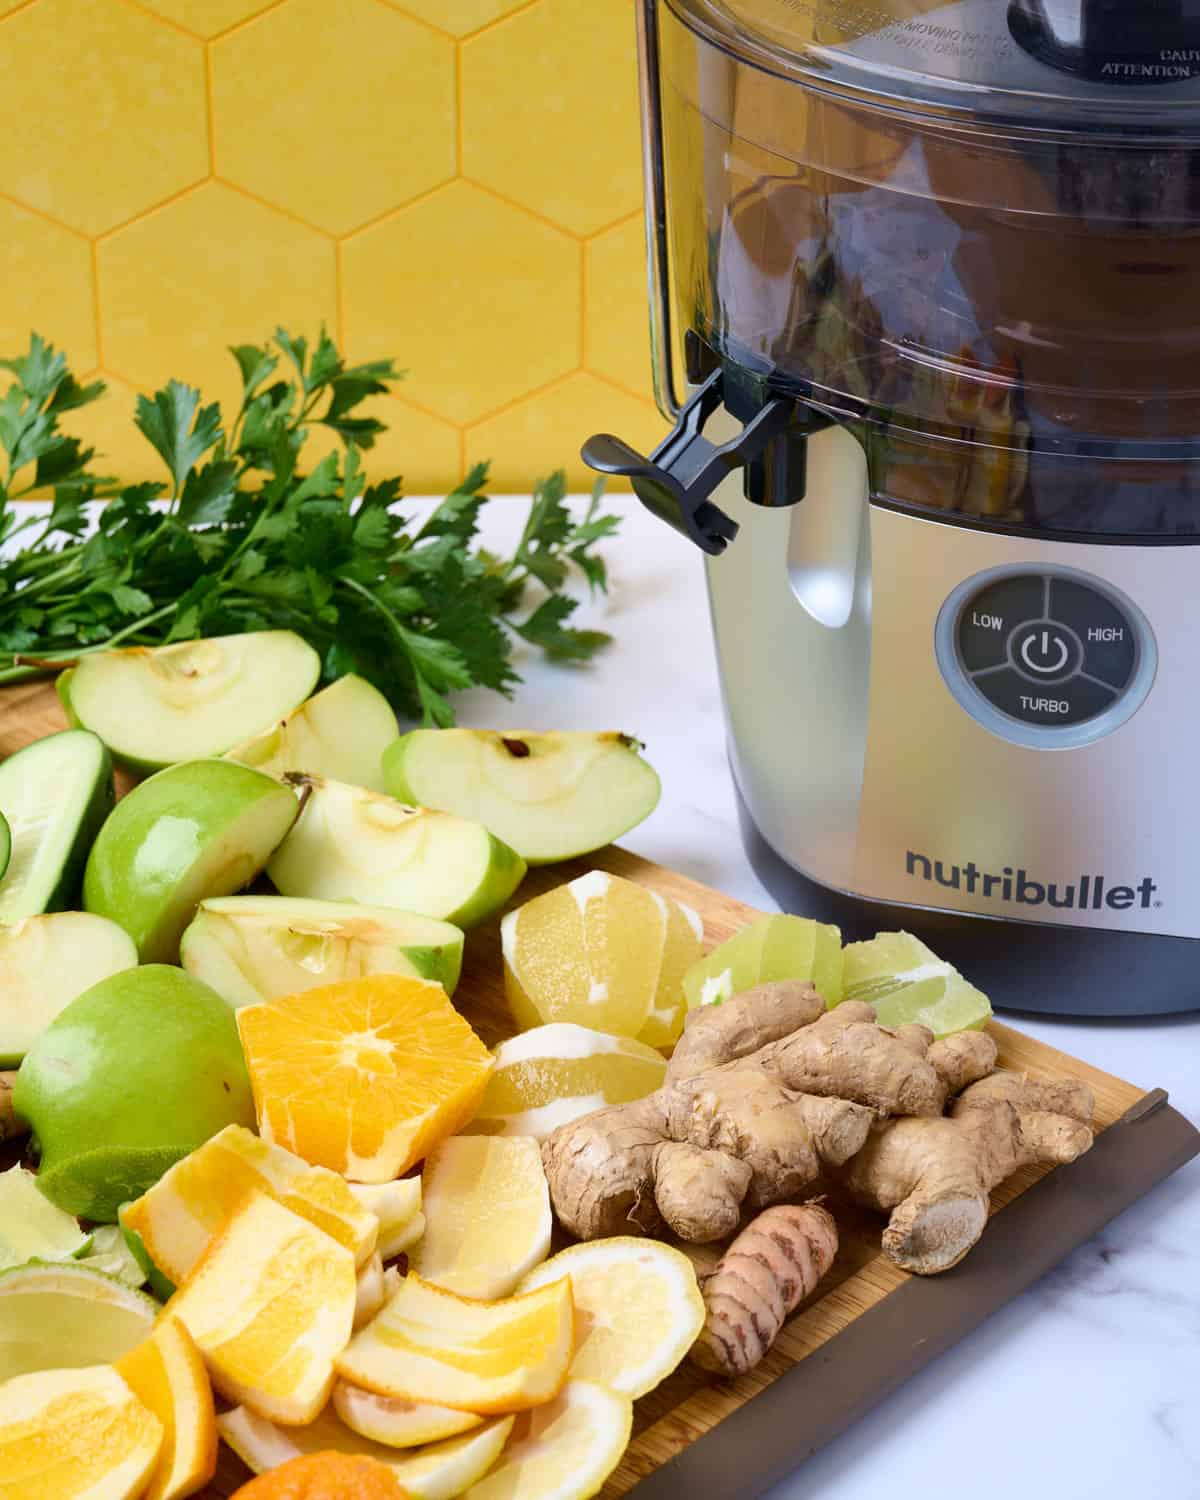
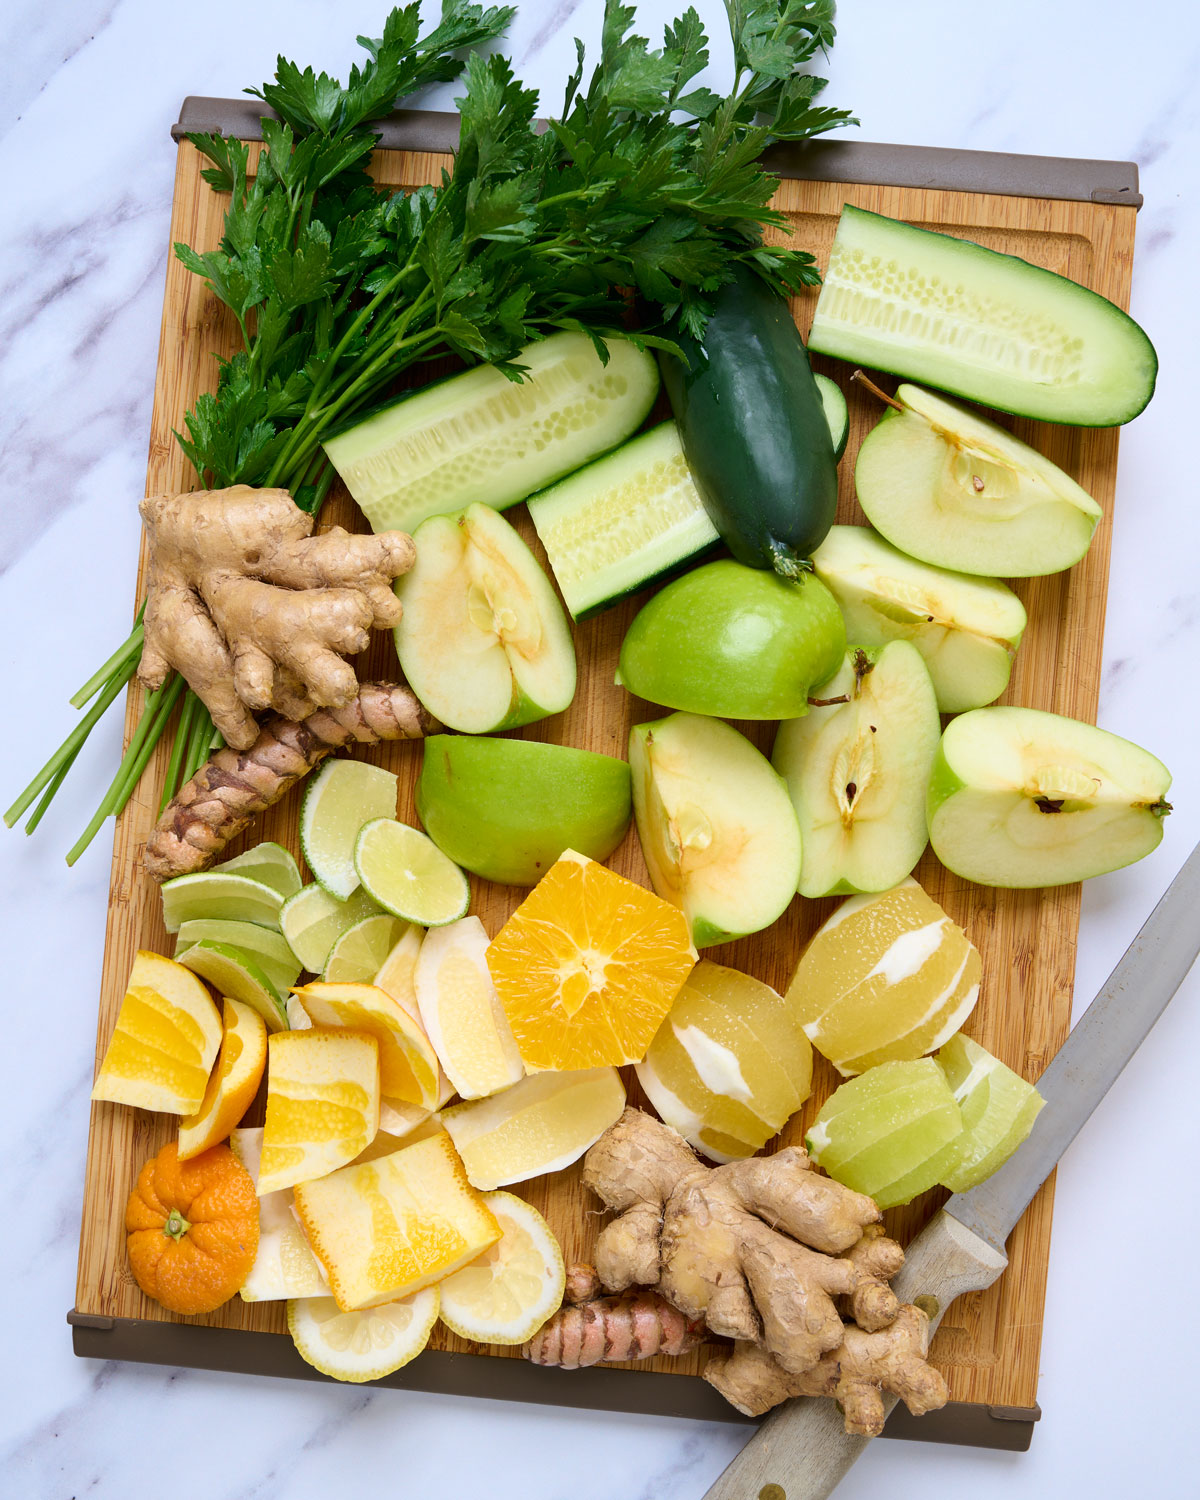
If you already have a juicer, start with the Ingredients and Juicer Speeds section, which outlines how to prep 40 different ingredients. If you are a more advanced juicer looking for tons of recipes to feed your juice obsession, head to my 20+ Best Juice Recipes.
NOTE: An important reminder is that juices should not be a replacement for meals. Consuming juice is a great way to add additional nutrients to your diet, but in my opinion should never be used as a substitute for breakfast, lunch or dinner.
Jump to:
What Type of Juicer Should I Buy?
Okay, so first things first, while you can make most juices in a blender and then strain out the liquids, if you’re here, you’re curious about buying and using a juicer!
I bit the bullet on a juicer for Christmas in 2021 and it was the best kitchen investment I've made! If you haven’t already bit the bullet and bought a juicer of your own, here’s a little guidance.
Basically, there are three main types of juicers:
- Centrifugal Juicer (affiliate link) ($50+)
Best for beginners, least expensive, noisiest, not as great with leafy greens, juice lasts only a few hours, juice can result in a more foamy and separated juice.
- Masticating Juicer ($200+)
Best for families and juice-lovers as it's more of an investment, makes some noise, fine with leafy greens, good at separating juice from pulp, less foam, juice lasts 36-72 hours.
- Twin-Gear or Triturating Juicer ($400+)
Best for the hard-core obsessed and a big investment, makes little noise, harder to clean, great with leafy greens, great at separating juice from pulp, little foam, juice lasts 36-72 hours.
If you want the full run-down of the differences, Healthy Kitchen 101 has a great article that helped inform me when I was shopping, on the types of juicers or read more tips on finding the right juicer for you.
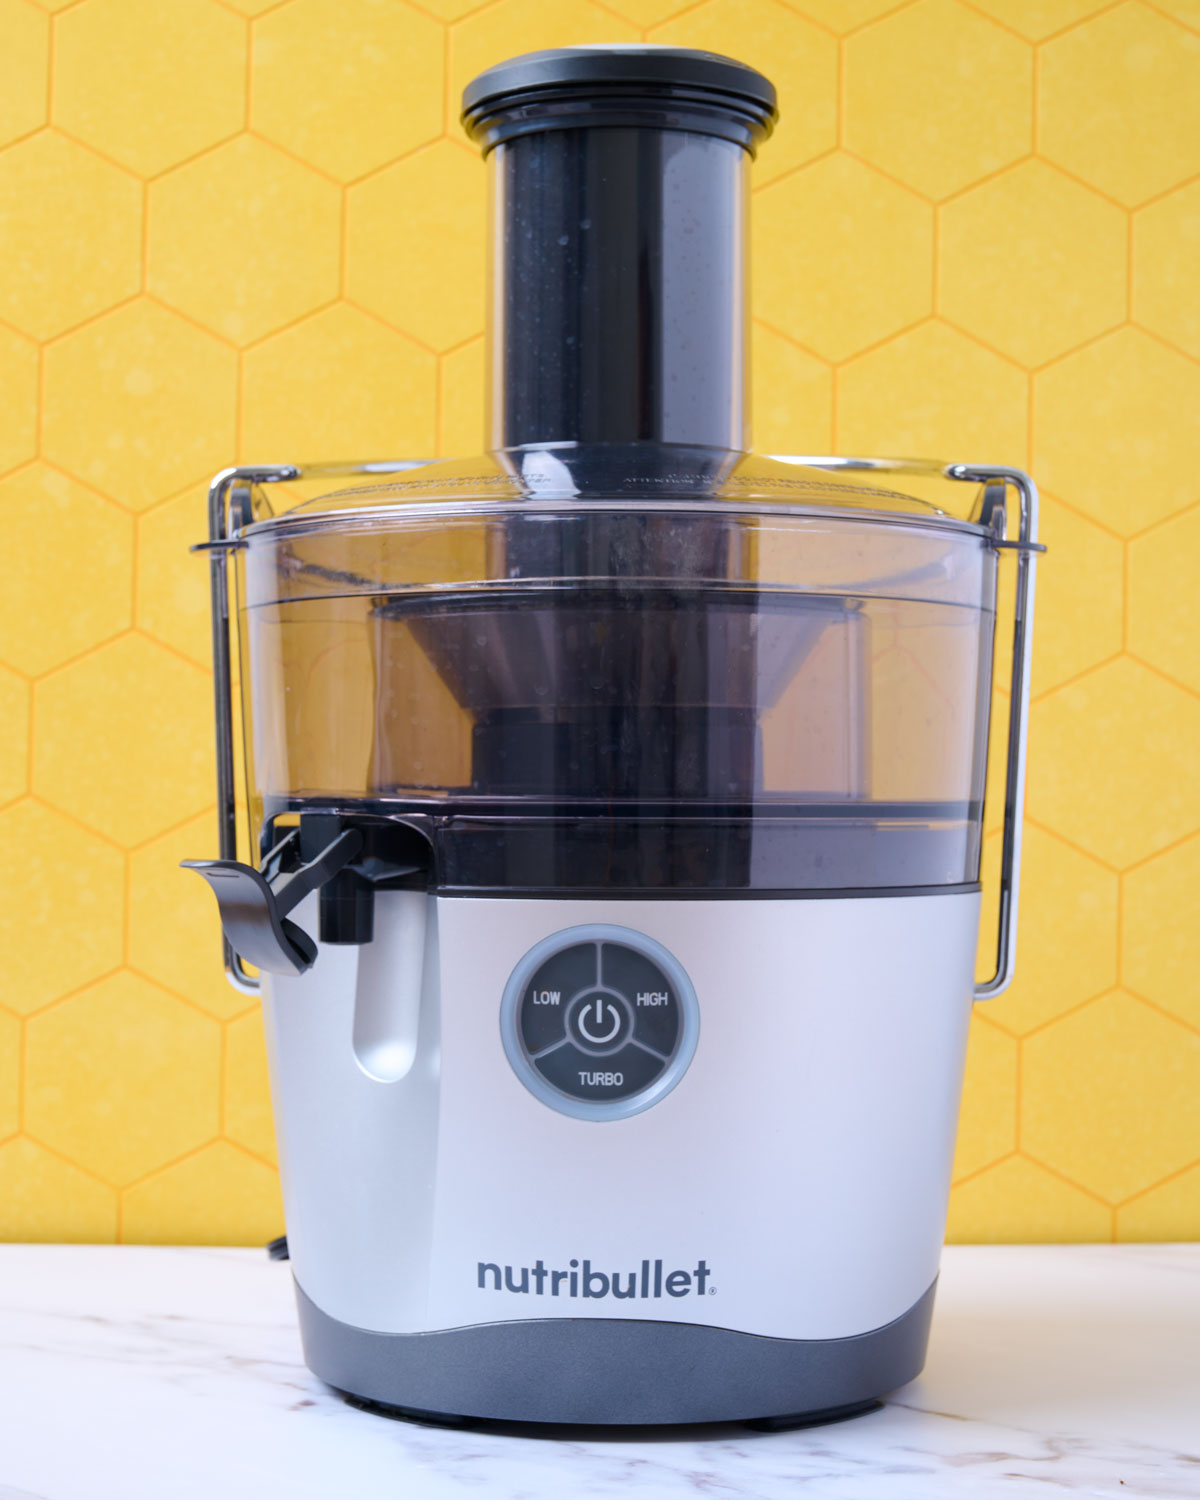
If you want my exact juicer (which I LOVE), you can find the Nutribullet Juicer Pro Centrifugal Juicer on Amazon.
It’s extremely easy to clean, comes with ice cubes to store leftover juice in the freezer, and mini bottles for carrying your juice on the go.
I highly recommend it, especially for those starting out!
Can I Make Juice in the Blender?
If you’re waiting on purchasing a juicer, you absolutely CAN make any juice in the blender. I do prefer making most juices using the Juicer, because it’s a much quicker process to separate the solids from the juice.
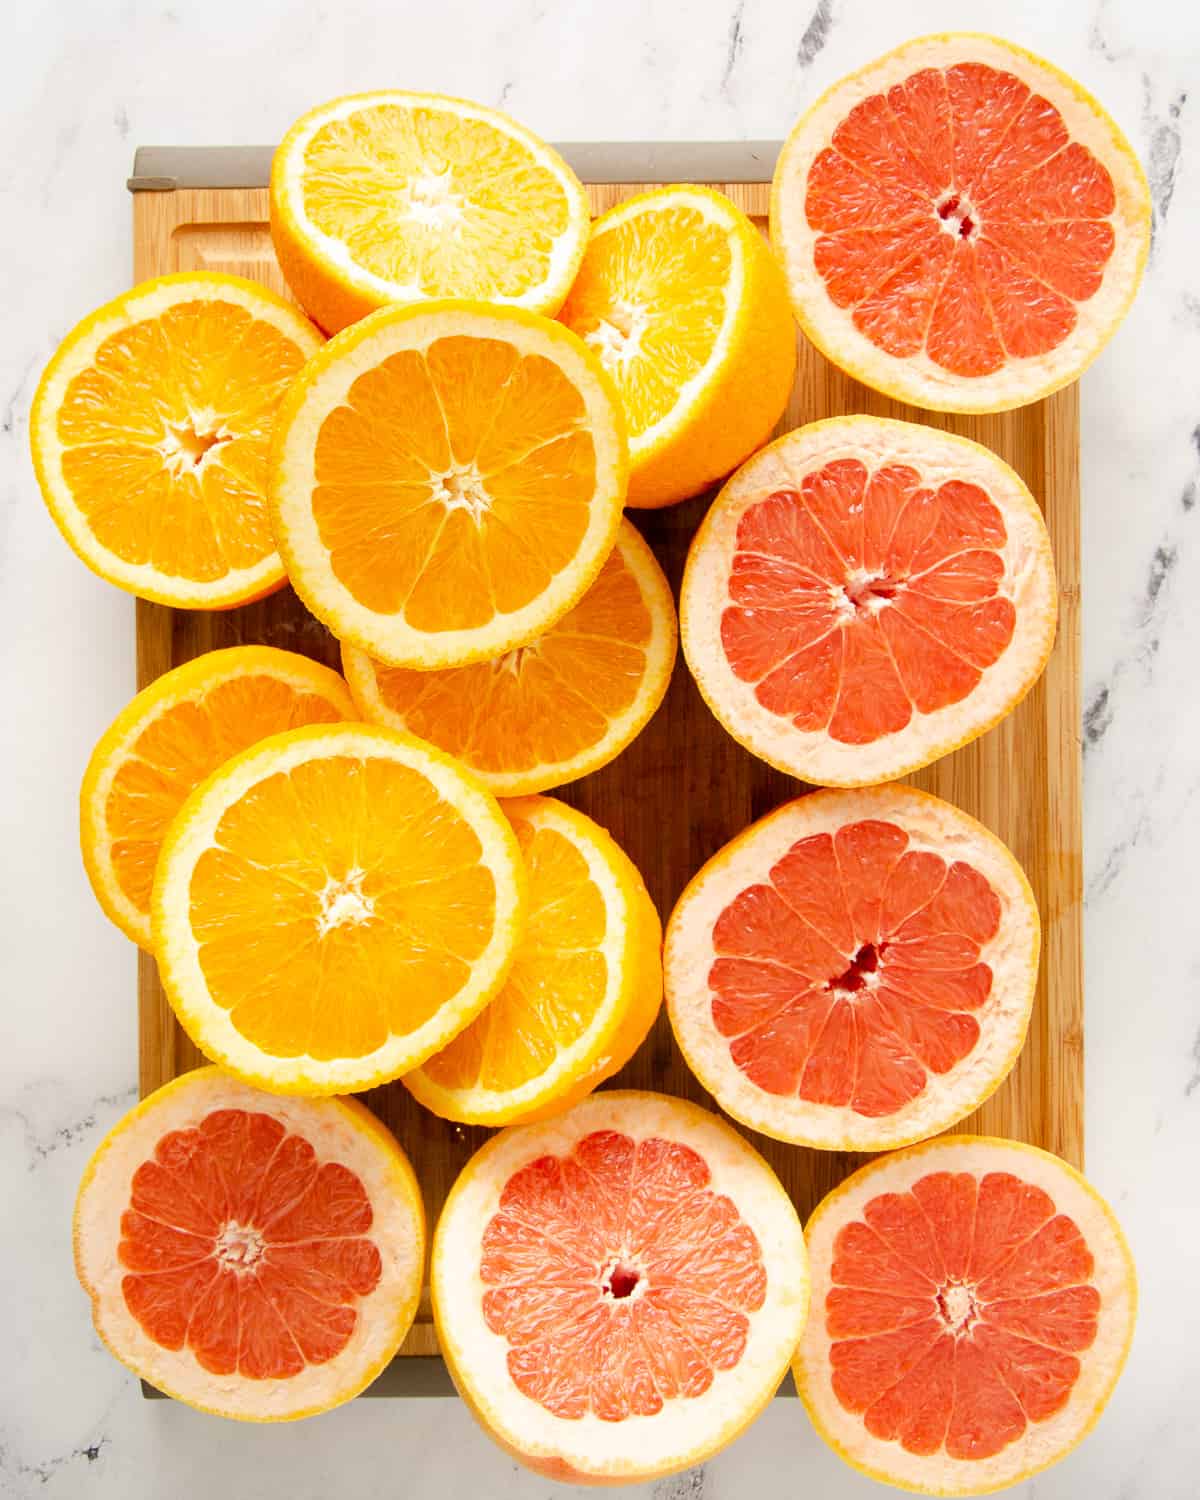
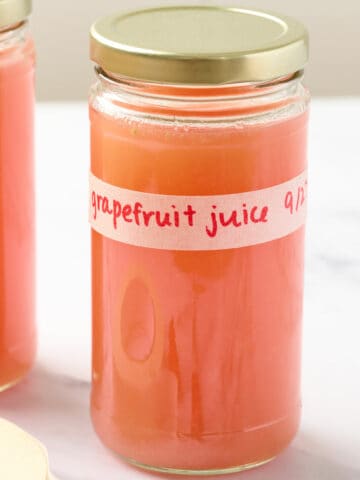
However, most citrus juices, like my grapefruit citrus juice or kiwi juice, are easier using the blender or hand squeezing.
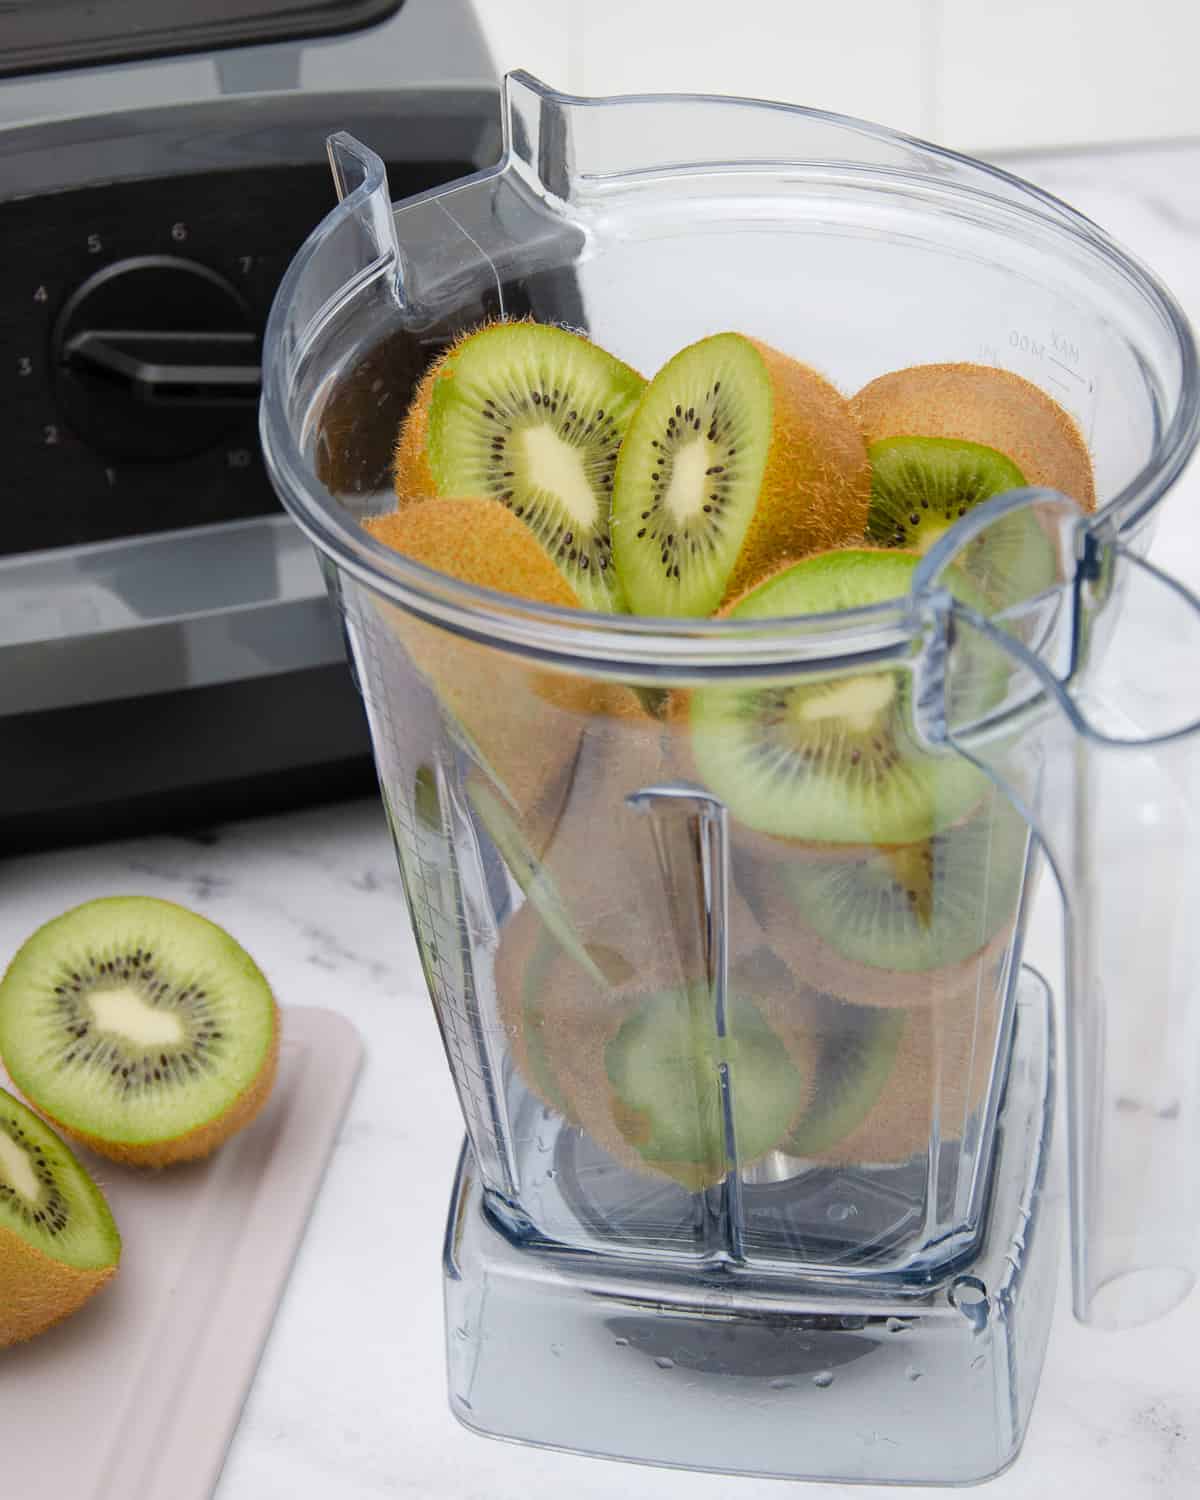
To make juice in the blender, simply blend all ingredients in a high-powered blender. Then, pour the juice through a fine-mesh strainer (affiliate link) into a large measuring cup or jar.
Press onto the solids with the back of a large spoon, pressing out as much of the juice as you can. Once the juice is almost completely strained, discard the solids. You may need to add water during the blending process depending on the ingredients.
Blender vs. Juicer for Making Juices
Both a blender and a juicer are solid options for making juices. Deciding whether to stick with a blender or to buy a juicer really comes down to: budget, how often you juice, and the types of juices you want to make.
Times when recommended to use a Blender:
- Citrus juices
- Smaller batch juice recipes
- For those who don’t make juices often
Pros for a Blender
- Less clean-up time
- Less expensive
Cons for a Blender
- More prep time
- More manual labor pushing the juice out from the solids
- Juicing ginger, turmeric or leafy greens alone requires adding water in order to blend

Times when recommended to use a Juicer:
- Green juices
- Juices with ginger and/or turmeric
- Juices that use a ton of ingredients
- Large batch juices too large for a blender
- For those who make juice really often
Pros for a Juicer
- Less prep time
- Less work to make the juice
Cons for a Juicer
- Sometimes juice is still remaining in the solids
- More expensive
- More clean-up time (about ½ of the juicer parts are likely to require hand washing only)
Overall, there’s no wrong decision when it comes to a blender vs. a juicer. The best choice is the one that fits your budget and needs.
Ingredients and Juicer Speeds
It’s really important to use the suggested juicer speeds for each ingredient. This is because different ingredients have a different ratio of pulp, seeds and other factors. Different speeds help take those into account to separate the pulp and seeds from the juice, making for a better overall juice with the most nutrients.
If you skip the recommended juicer settings, it’s not wrong, but you risk less juice than the recipe notes and you might miss out on some of the health benefits to each ingredient you chose!
Go from lowest speed (Low) to highest speed (Turbo) when using the juicer.
Juicer Speeds for Fruits
| Fruit Name | Speed | Notes |
|---|---|---|
| Grapefruit | Low | Recommend to remove peel |
| Orange | Turbo | Recommend to remove peel |
| Lemon | Low | Recommend to remove peel |
| Lime | Low | Recommend to remove peel |
| Strawberries | Turbo | Stems can remain on |
| Blueberries | Turbo | |
| Raspberries | Low | |
| Cucumber | High | Recommend to slice in quarters lengthwise |
| Apple | Turbo | Recommend to remove core and slice |
| Pineapple | High | Recommend to remove skin and cut into pieces to fit juicer chute |
| Watermelon | Low | Recommend to remove skin and cut into pieces to fit juicer chute |
| Cantelope | Low | Recommend to remove skin and cut into pieces to fit juicer chute |
| Honeydew | Low | Recommend to remove skin and cut into pieces to fit juicer chute |
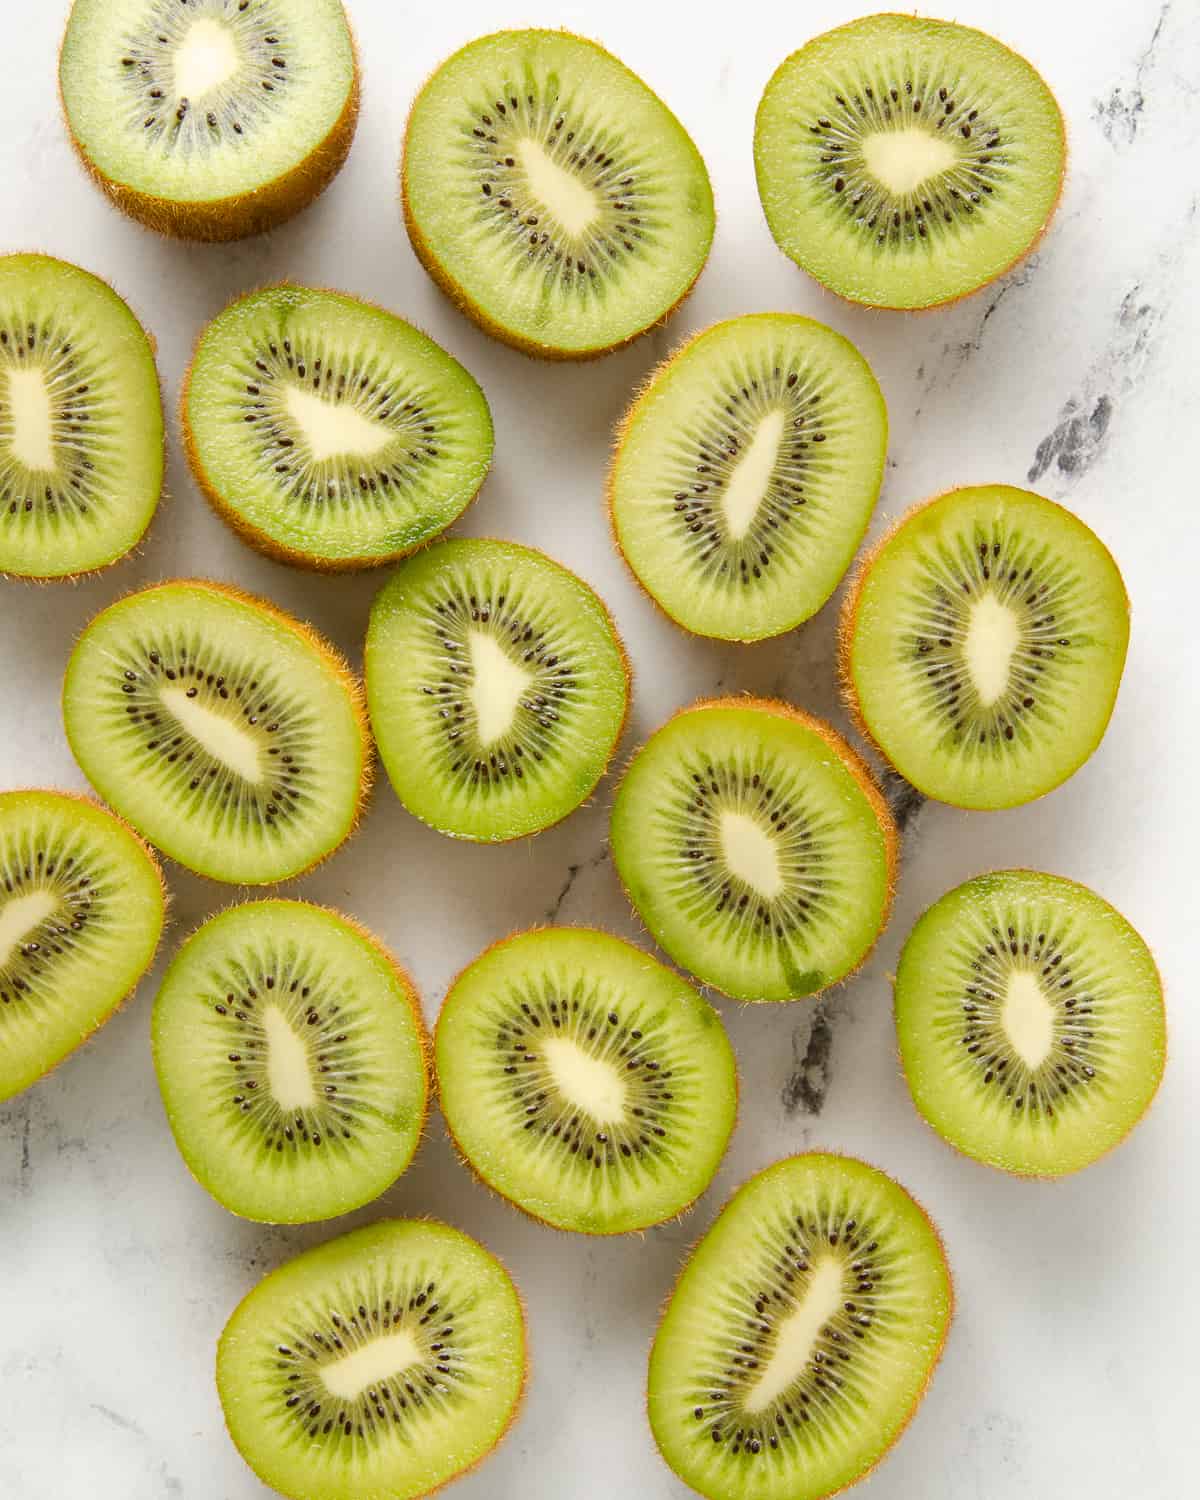
| Kiwi | Low | Quartered |
| Pear | High | Quartered |
| Cherries | High | Must remove pit |
| Peach | High | Must remove pit |
| Grapes | Low | Must be seedless |
| Plum | High | Must remove pit |
| Clementines | Low | Peeled |
| Papaya | Low | Halved, seeds removed, peeled, sliced into spears |
Juicer Speeds for Vegetables
| Vegetable Name | Speed | Notes |
|---|---|---|
| Spinach | Low | |
| Kale | High | |
| Tomatoes | Low | Halved or quartered |
| Beet | Turbo | Halved or quartered |
| Carrots | Turbo | Cut into pieces to fit juicer chute |
| Broccoli | Turbo | Cut into pieces to fit juicer chute |
| Cauliflower | Turbo | Cut into pieces to fit juicer chute |
| Celery | Turbo | Cut into pieces to fit juicer chute |
| Sweet Potato | Turbo | Must be raw |
| Cabbage | Low | |
| Bell Peppers (red, yellow, green, orange) | Turbo | Remove the core and stem |
Juicer Speeds for Herbs + Others
| Ingredient Name | Speed | Notes |
|---|---|---|
| Parsley | Low | |
| Mint | Low | |
| Cilantro | Low | |
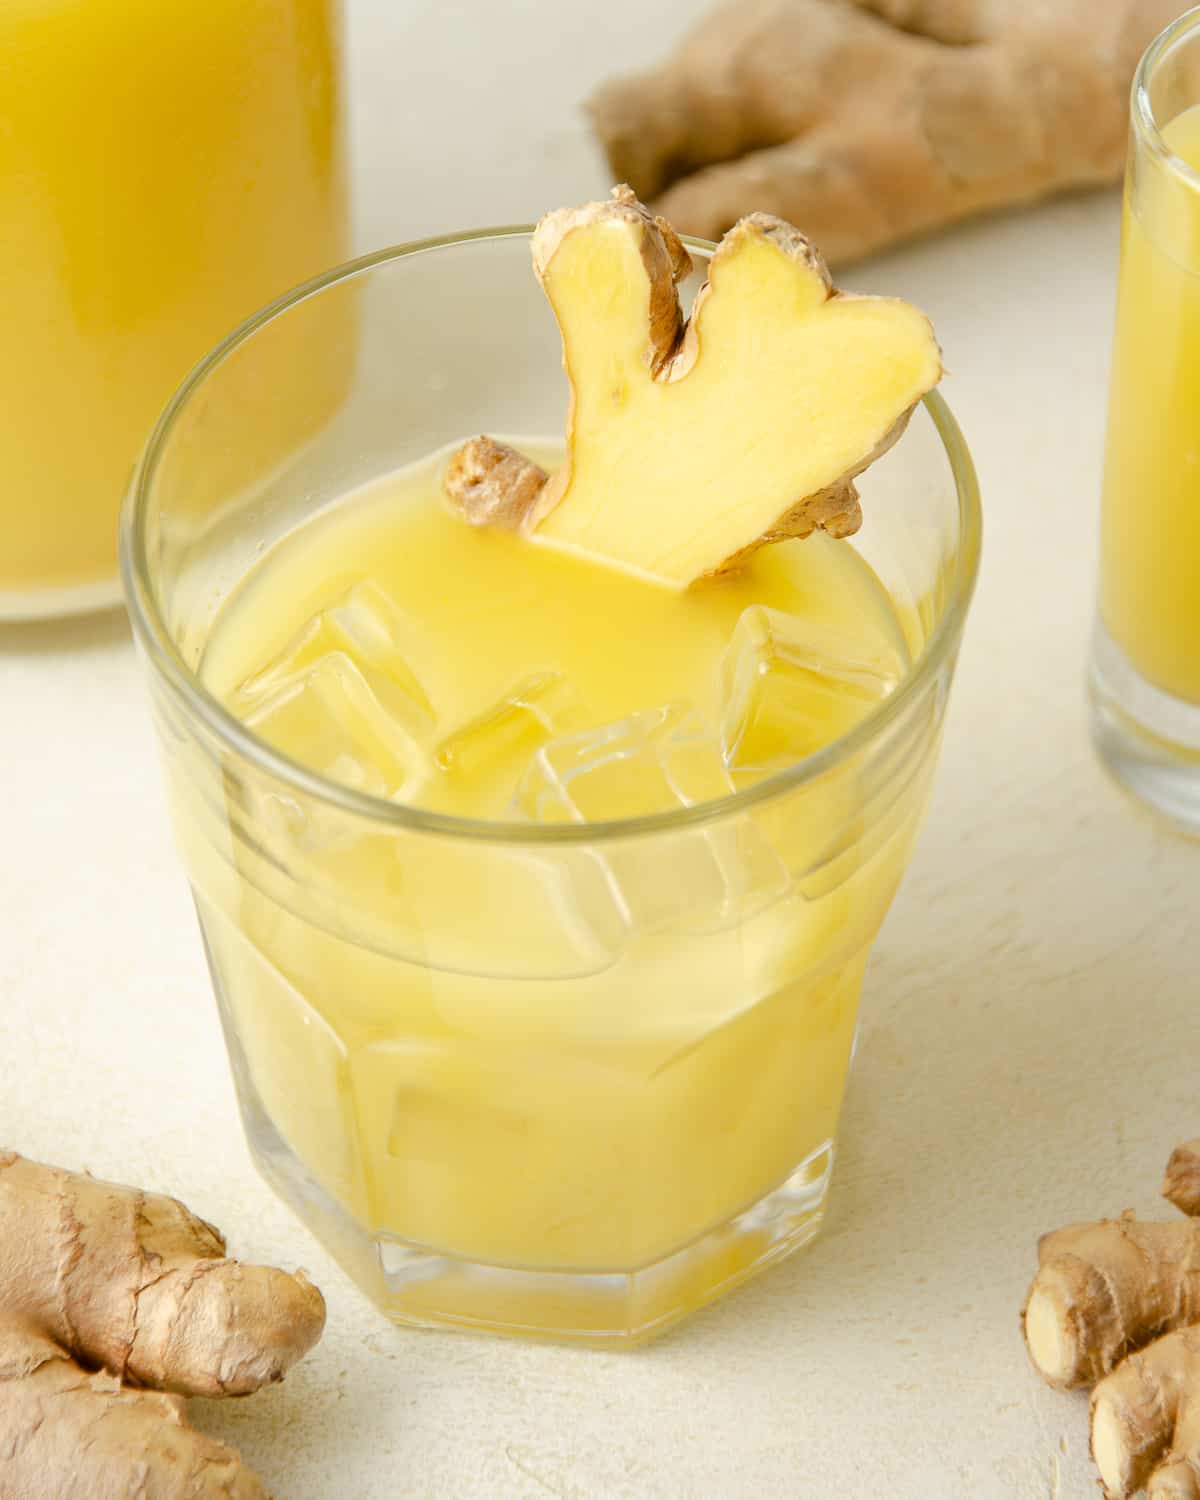
| Ginger Root | Turbo | |
| Turmeric Root | Turbo | |
| Garlic | Turbo | Cloves |
Ingredients that Should Never Go Through the Juicer
There are some ingredients that should never go through a juicer, such as:
- Avocado
- Banana
- Rhubarb
- Figs
- Frozen fruits and vegetables
- Fruit with seeds or pits - ONLY juice fruits with pit/seeds once the pit/seed is REMOVED
Juicing Best Practices
Prep First
Before starting the juicing process, it’s best to prep all ingredients first. This means wash all ingredients thoroughly. Wash prior to peeling or cutting. This makes sure that bacteria doesn’t get into your delicious juices. For more tips, follow the FDA’s guide to properly washing produce.
Next, remove any skins, pits/seeds, and cut into pieces that will fit through your juicer’s chute (or if blending, chop into large chunks).
Take It Slow
If you’re a total beginner to juicing, start slowly! Adding a ton of juice to your diet can sometimes cause an upset stomach (especially if consuming juices with turmeric, broccoli, cauliflower or leafy greens!).
To start, try some agua fresca recipes (a Mexican juice made by blending water and fresh fruits), dilute your juices with water, or start with fewer juices and build up your tolerance.
Know the Juicer Speed
As mentioned before, using the suggested juicer speeds will help result in a better, tastier juice.
Peel and Chop Fruits and Vegetables
Most high-quality juicers are more than able to grind and separate the rinds of citrus fruits. However, the peels can still cause a bitter tasting juice and with that, a stomach ache. I highly recommend peeling or cutting any tough rinds/skins like those of citrus, mangoes, pineapples.
A good tip for when to remove the peels and rinds is to ask yourself if you would eat it raw. For example, you’d always peel citrus prior to eating or remove the skins of pineapples, whereas you would eat the skin of apples.
Then, it’s very important to chop fruits and vegetables into sizes and shapes that can fit easily into the juicer chute, or into bite-sized chunks for a blender. This will help your juicer or blender to quickly do its job.
Have Fun!
The most important thing to remember is to have fun! Your juicing journey is yours alone, and you can feel free to experiment with ingredients to find the flavor combinations you enjoy most!
Storing + Freezing Juices
Storing Juice
Fresh juice is best when consumed immediately or within a few hours. Pour juice into an airtight jar or glass. I like to let my juice get slightly cold in the fridge for about 30 minutes before consuming.
If you need to store the juice for later, drink it within 72 hours, but most recommend consuming in the first 24 hours.
Freezing Juices
Homemade juice is best enjoyed within 24-72 hours of making. To prolong the life of juice, you can freeze it! To do this, pour fresh juice in an ice cube maker. When frozen into cubes, remove from the ice cube mold and place in an airtight ziplock or freezer bag.
Frozen juice lasts 2-3 months.
10 Ways to Use Leftover Juice Pulp
Now, you’ve used your juicer or blender and you’re left with a delicious juice and a ton of leftover pulp - what do you do with it? While you can ultimately toss all of the pulp, you should know there are plenty of options to use the pulp in creative (and tasty!) ways!
- Compost: the easiest way to recycle juice pulp is by tossing scraps into an at-home compost bin.
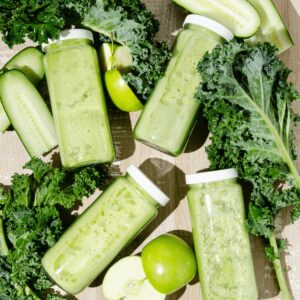
- Smoothies: adding pulp to smoothies can not only add extra flavor, but pack in extra nutrients as well! Freeze any leftover pulp in an ice cube tray and save for the next time you make a smoothie. I’d recommend using the more sweet leftover pulp for this, however leafy greens and cauliflower or broccoli pulp will do great as well!
- Sauces and Soups: vegetables like carrot, tomato, or bell peppers as well as leafy greens pulp can be a great addition to sauce and soup recipes. Simply freeze the leftover pulp in an ice cube tray and add to your sauce or soup while it simmers to add extra fiber and nutrients (and flavor!). Try it with a Roasted Red Pepper Soup or Pink Pasta Sauce, or make your own marinara!
- Meatballs or Fritters or Burgers: add leftover savory pulp to homemade meatballs or fritters, or even burgers! Try this with Turkey Meatballs or Chicken Meatballs, or make homemade vegan fritters. If wanting to add to burgers, like my favorite Turkey Burger, add the pulp to the meat when mixing all ingredients. If you’re vegan or vegetarian, make vegetarian burgers!
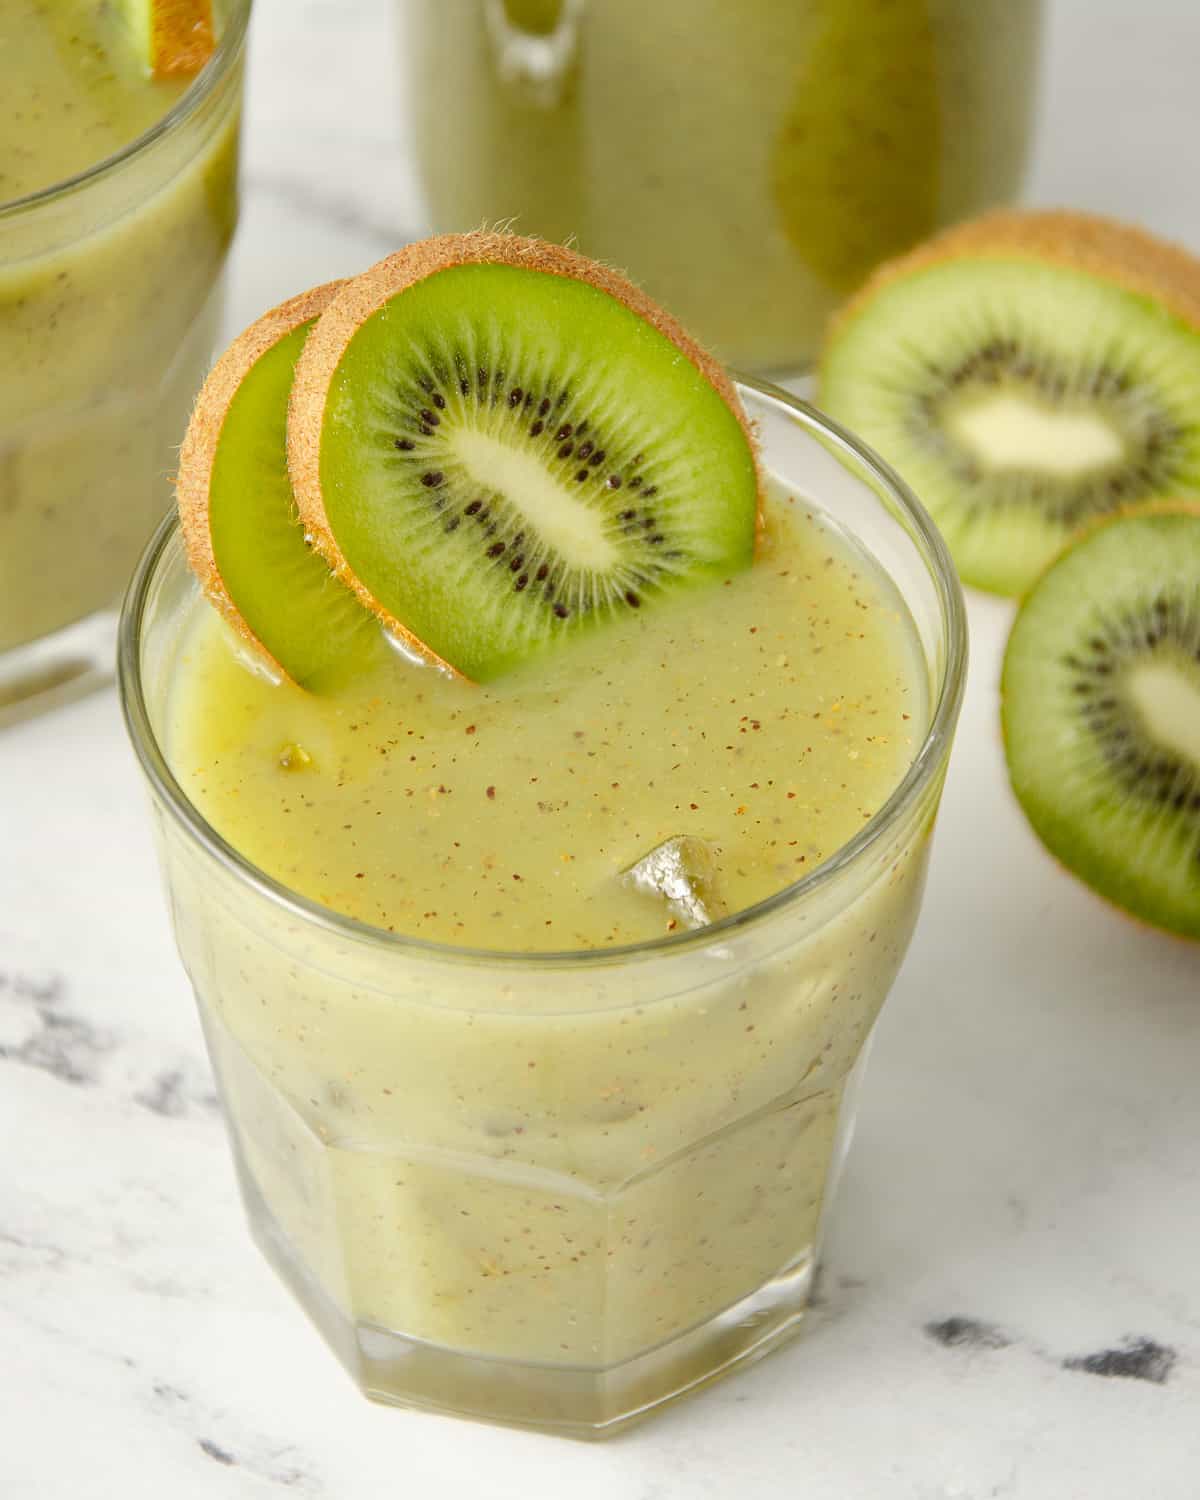
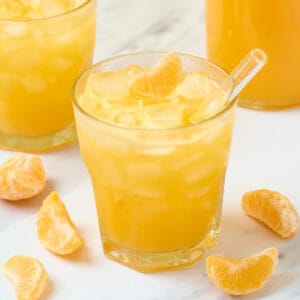
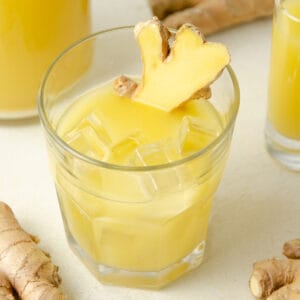
- Muffins and Breads: muffins and breads are a great way to hide leftover juicing pulp. Try this with sweet or savory pulp (depending on the type of baked good) by adding to the batter before baking. Add earthier flavors like the pulp from a Carrot Ginger Turmeric Juice or Ginger Juice to a breakfast muffin, or sweeter flavors from a pulp like those from a Grapefruit Orange Juice or Kiwi Juice to sweeter muffins or breads.
- Animal Treats: if you want to make your own dog treats, you can totally add some pulp to the mixture! Make sure that the fruits and veggies are safe for your favorite furry friend and mix it into the batter. This is a great way for your pets to get the same juicing benefits as you!
- Crackers: crackers are another easy way to use up leftover vegetable or green juice pulp. Bake or dehydrate the pulp into tasty crackers!
- Desserts: add leftover pulp from apples, beets, and carrots into sweet desserts like cupcakes and cakes.
- Waffles and Pancakes: throw juice pulp into your waffle or pancake batter to add much-loved flavor and nutrients! Do this with either savory or sweet pulp. Try with my favorite Oat Milk Pancakes.
- Bars and Energy Balls: those who are obsessed with making their own energy or bliss balls, or homemade bars - this is for you! Add the leftover pulp to your batter before baking or rolling into balls. This is great for mostly sweet pulp, but certain savory pulps will work too (like ginger, turmeric, or carrot).
FAQs
Soft seeds in fruits (like apples, citrus, or melons) are safe to juice. Meanwhile, stone fruits and fruits with hard seeds or pits (like plums, peaches, or cherries) must be removed before juicing.
Fruits and vegetables have a high composition of water, so when you juice, the water rises to the top and the nutrients and pulp sink to the bottom. If your juice separates (almost all do), simply shake or stir to re-combine.
This is a complex question and the answer is different for everyone! Consuming fruits in raw or juice form is better than having no fruits or vegetables at all. While you will receive more benefits by eating fruits on their own, having fruit or vegetable juice is still extremely beneficial to your health.
No. Freezing fruits and vegetables changes the water content, making the juice consistency strange. If you have frozen fruit or veggies you need to use up, I suggest trying a smoothie instead!
Favorite Juice Recipes
If you want a huge round-up of all of my juice recipes, check out the 20+ Best Juicing Recipes! Below I've featured some of my favorites to get you started:


Comments
No Comments