

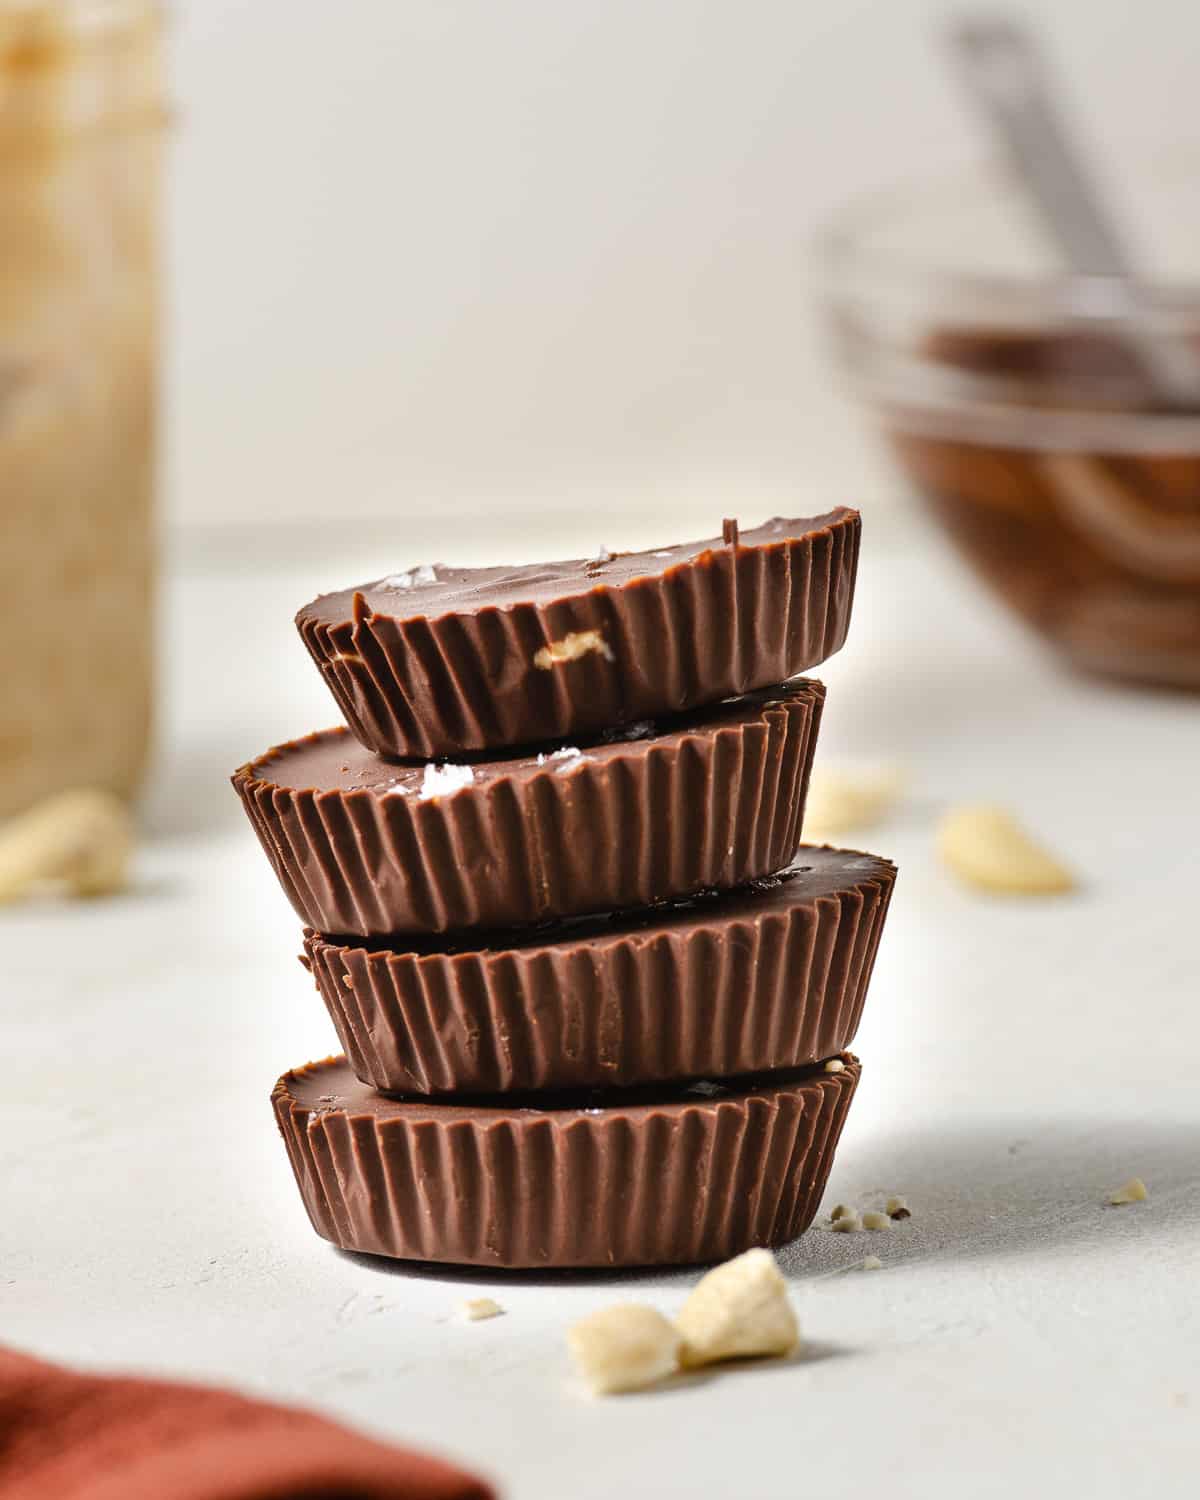
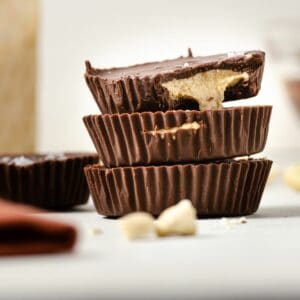
Healthier Cashew Butter Cups that are only THREE ingredients! These cashew cups have no added sugar and only use chocolate, nut butter and coconut oil! (Vegan!)
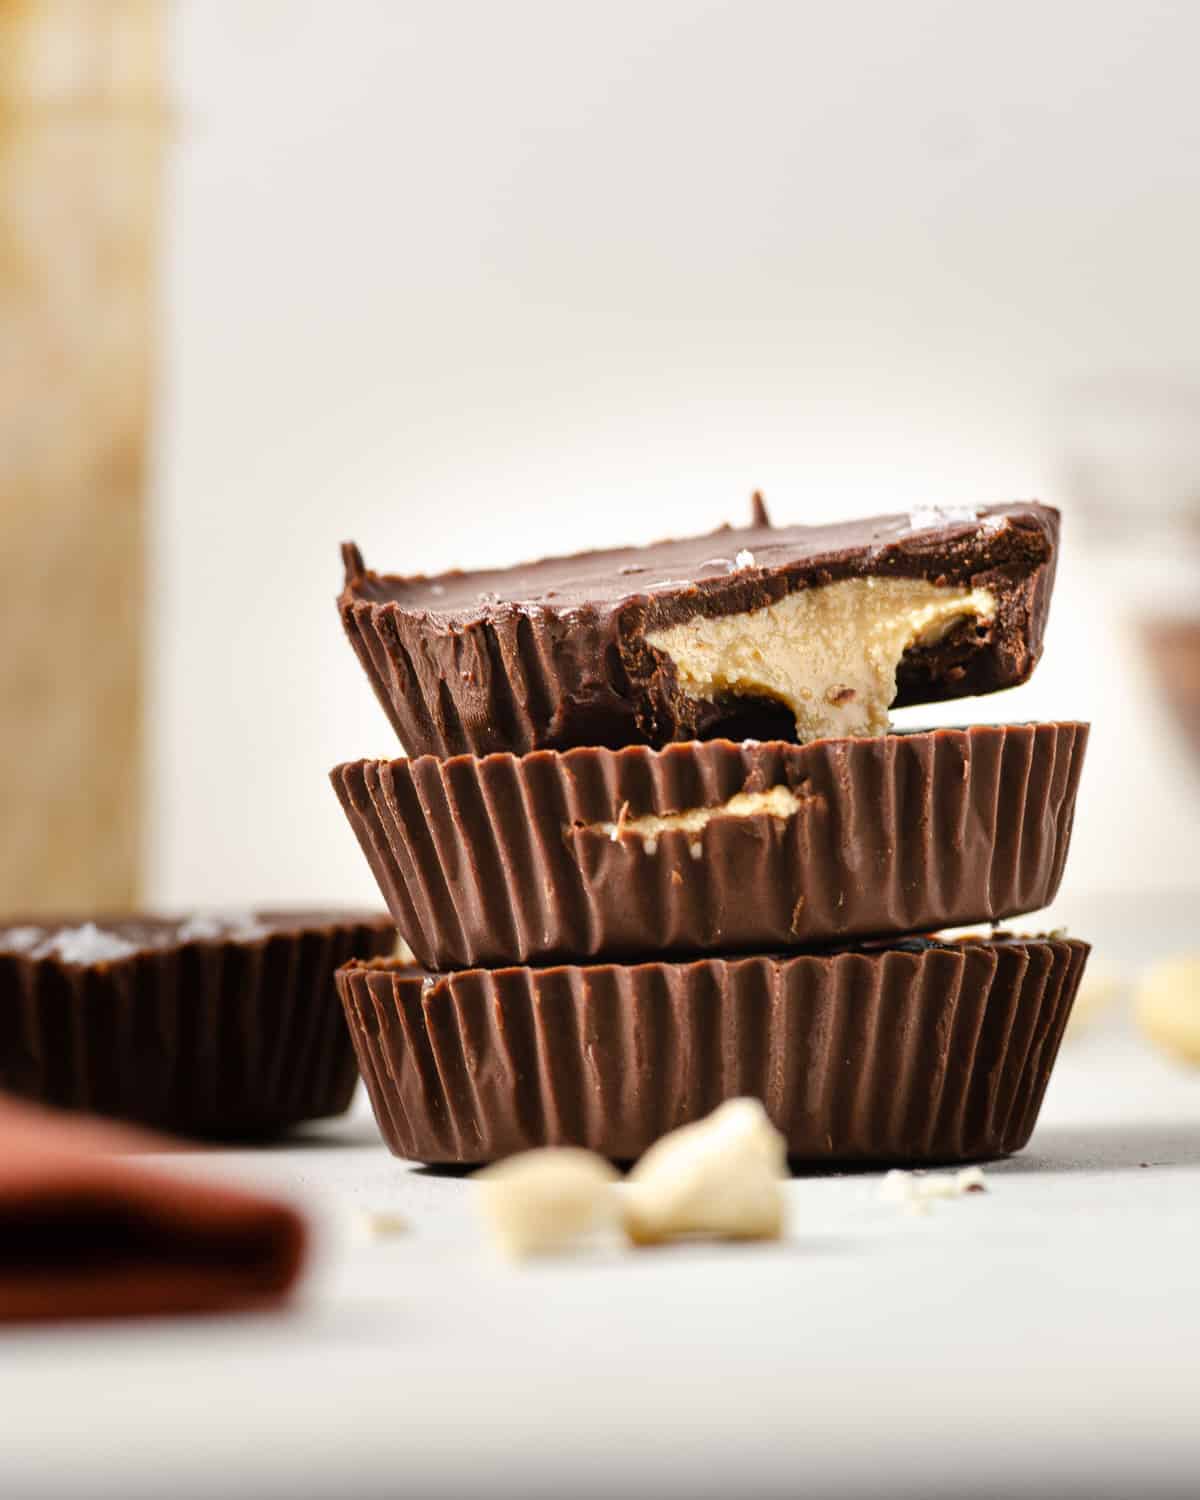
Homemade cashew butter cups are actually the easiest thing to make! They're the cashew butter filled version of a peanut butter cup. And they only require a few ingredients for that perfect sweet bite. You’re never going to want to purchase them from the store ever again!
I am not a sweets lover, but when I have that late night sweet tooth, the only thing I want is a chilled Justin’s White Chocolate Peanut Butter Cup!! I’m not sure why they’re so delicious but they are addicting. The issue is that the cups have many added sugars and they use Palm Oil, which is not environmentally friendly.
I was on a mission to make my own version of my favorite dessert: peanut butter cups so that I could have a cleaner ingredient version. I didn’t want to add any extra sugars (most other nut butter cup recipes use a bunch of powdered sugar!) and I wanted to keep it simple.
Jump to:
This clean eating snack recipe uses fresh ingredients. I’m a huge proponent of making simple recipes that don’t skimp out on taste. Want some other fun clean eating snacks? Check out this comprehensive list of snacks for clean eating!
Try these other healthier snack ideas:
Highlights of this Recipe
This recipe is:
- Easy
- Better for you
- Kid friendly
- 3 ingredients
Video How To
Ingredients & Substitutions
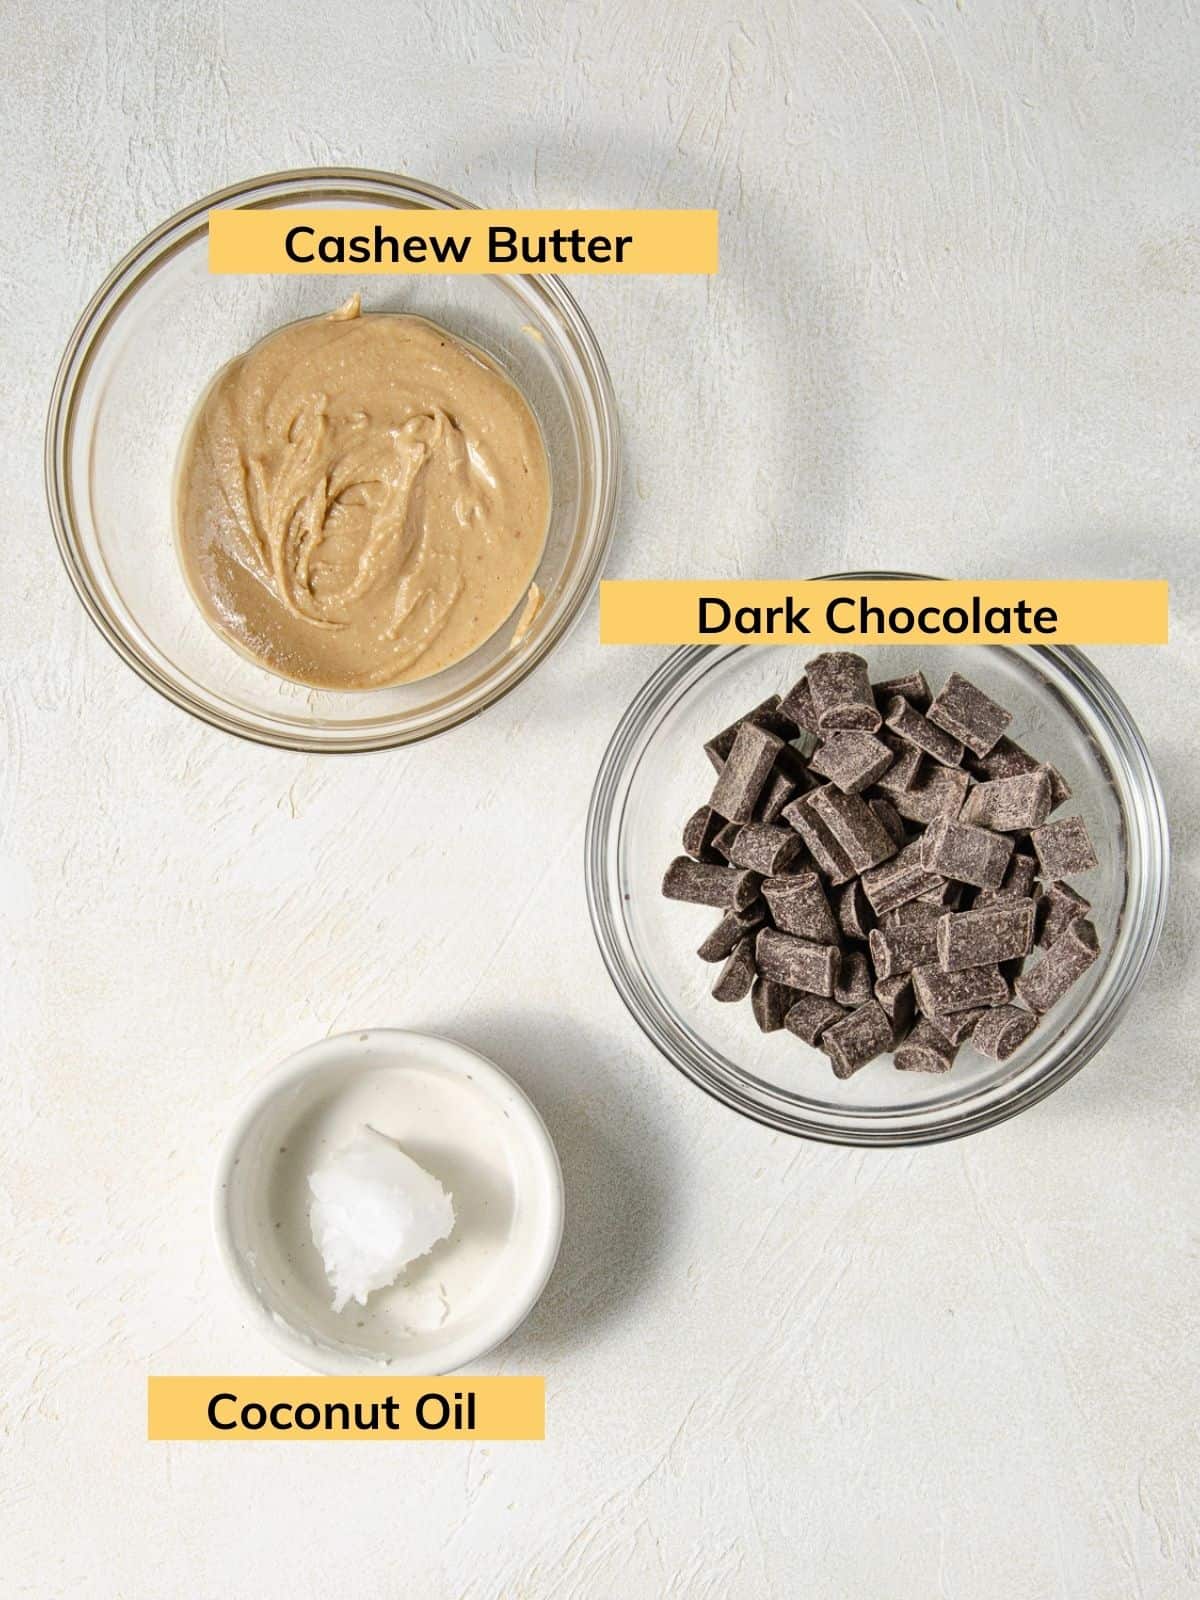
These healthy Cashew Butter Cups are soo easy to make and only three ingredients! They're so delicious I want to eat all in one sitting (and maybe have!). They use only 3 ingredients:
- Cashew Butter - I love using cashew butter or almond butter, but you could use any nut butter or even seed butter! I suggest a creamy cashew butter (or other nut butter), but you can use crunchy as well. You can also make your own homemade cashew butter.
- Chocolate - This is what forms the shell on the outside of the nut butter. Use white chocolate, dark chocolate, or semi-sweet chocolate.
- Coconut Oil - This helps the chocolate harden! You can leave out the coconut oil, however it does help form a nice hard shell.
You can definitely substitute your favorite nut or seed butter, but making your own creamy cashew butter filling really takes this treat to the next level!
Clean Ingredient Tips
Cashew Butter
Look for nut butters that only have nuts and salt (optional). For these cashew cups, you can even make your own homemade cashew butter.
Dark Chocolate + Semi Sweet Chocolate
There are many clean dark chocolate options out there, because they don’t have any added sugar. Try: Hu Chocolate Gems or Thrive Market Organic Chocolate Chunks for refined sugar free dark chocolate. (Both are vegan)
Semi-Sweet chocolate often has added sugar. Try Lily’s Semi-Sweet Baking Chips (stevia-sweetened) or ChocZero Milk Chocolate Chips (monk fruit-sweetened).
White Chocolate
There is a better amount of clean dark chocolate varieties available on the market. However, white chocolate? Much much harder. You can make your own white chocolate, but for the cleaner store-bought options (not perfect but getting there!), try ChocZero’s White Chocolate or Lily's White Chocolate Style.
Dairy Free and Vegan White Chocolate - this is really hard to come by, which is a MAJOR bummer. So far, I’ve only found Pascha Vegan Organic White Baking Chips. I haven’t tried them myself (YET!).
Coconut Oil
- Stick with the solid coconut oil - it’s better to melt it on your own!
- Look for: Virgin, Extra-Virgin or Cold-Pressed
- Unrefined means less processing and is better than refined.
- Watch out and avoid those with added oils (think canola or other vegetable oils). It’s better to purchase those that have only coconut oil.
Step-By-Step Instructions
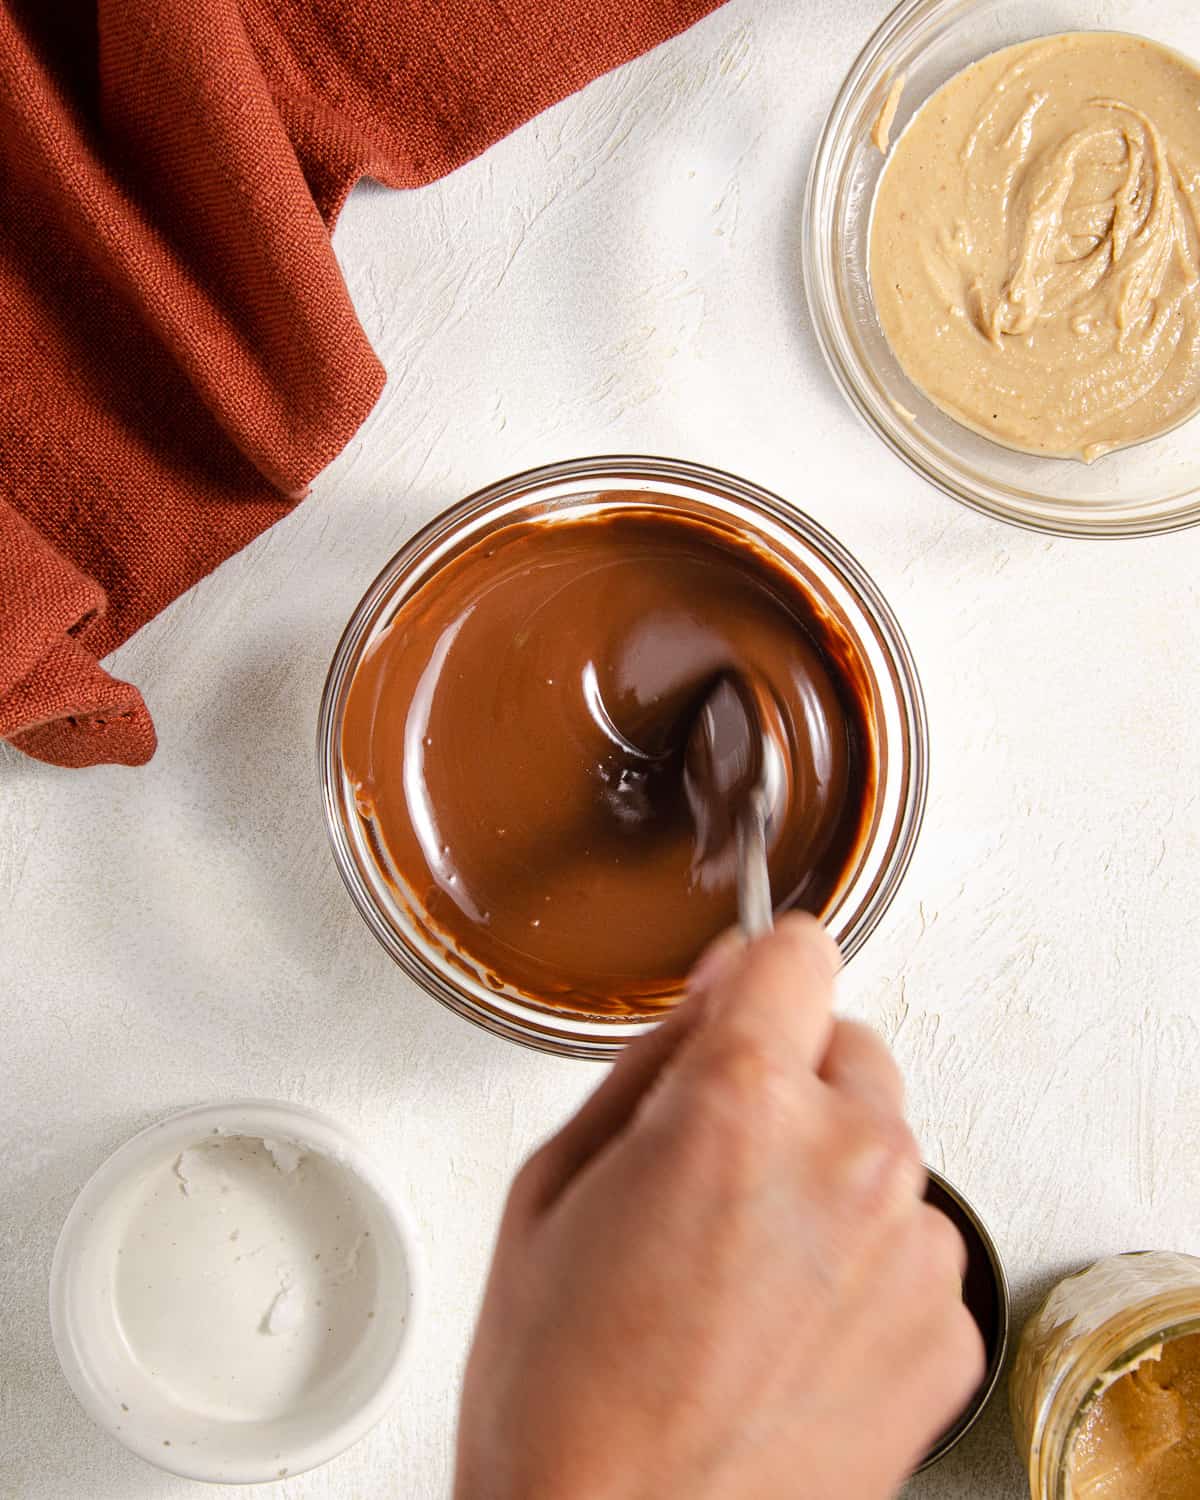
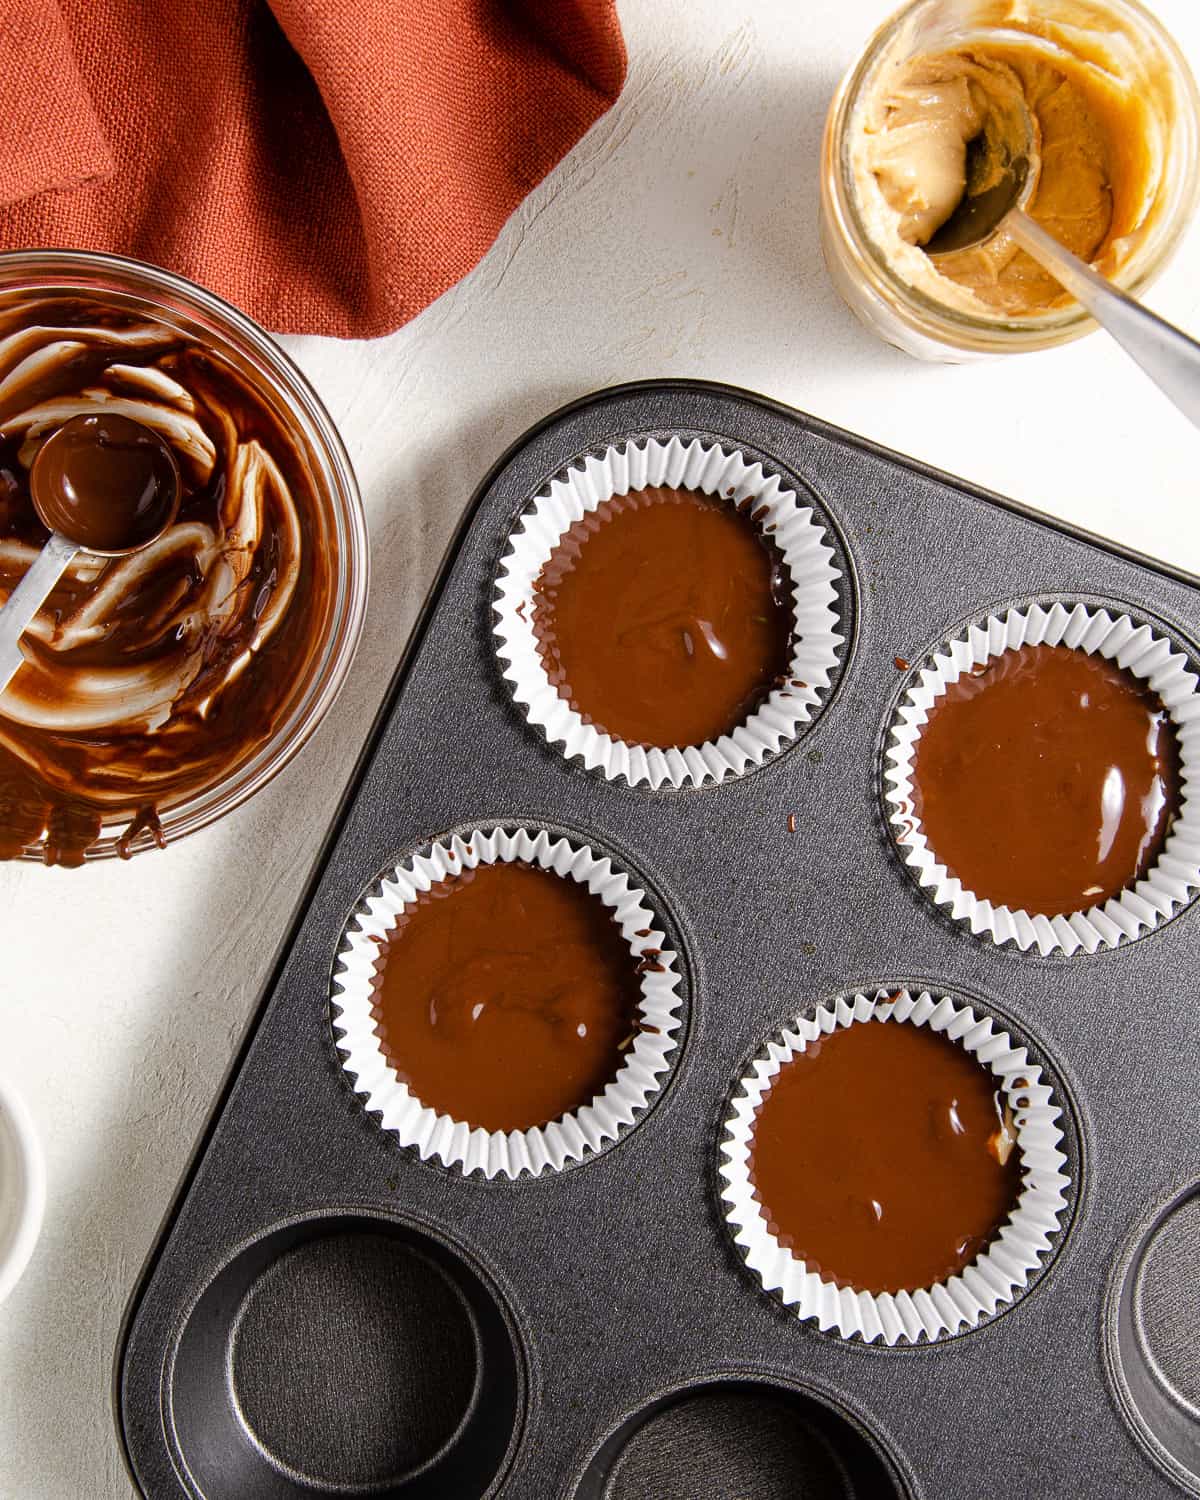
STEP ONE: In a microwave safe bowl, melt the chocolate chips and coconut oil together.
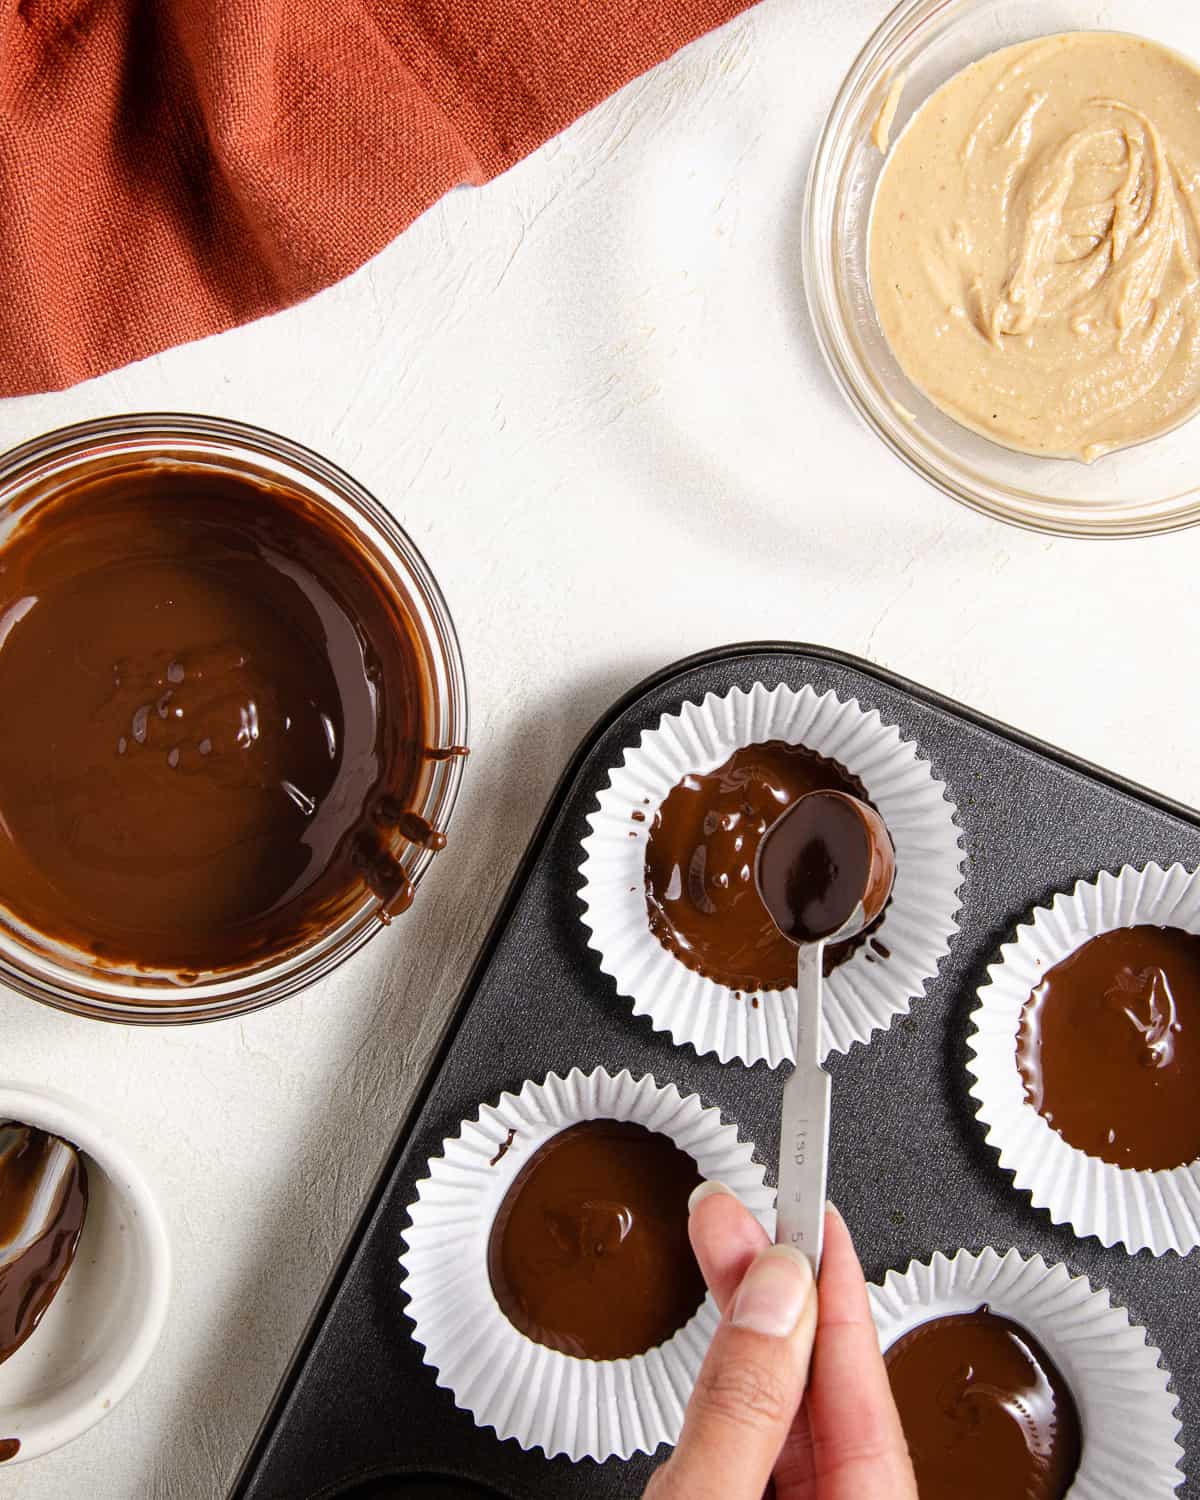
STEP TWO: Place muffin liners into a muffin tin. (You can also use a mini muffin tin with mini muffin liners for mini cashew butter cups!).
STEP THREE: Pour the melted chocolate evenly throughout the muffin liners. (2 teaspoons each cup for regular sized muffin liners)
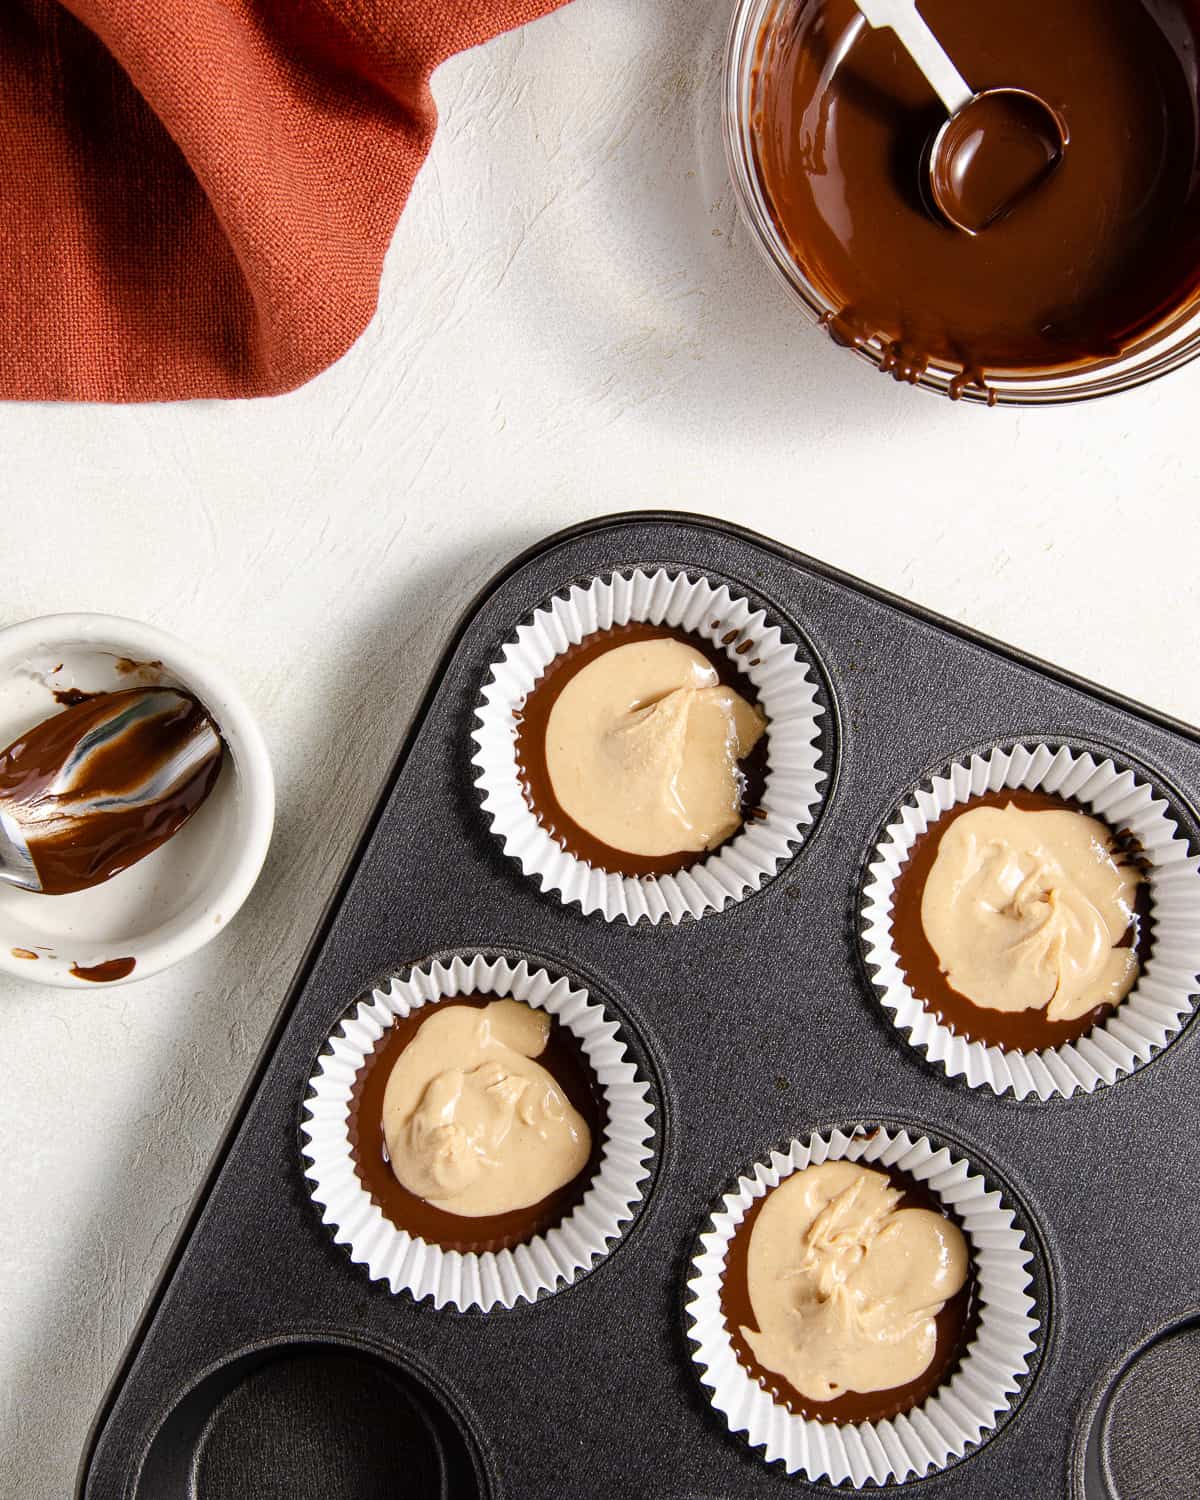
STEP FOUR: Create the nut butter or cashew butter filling by microwaving the nut butter in a microwave safe bowl.
STEP FIVE: Pour the nut butter or seed butter evenly throughout the muffin liners.
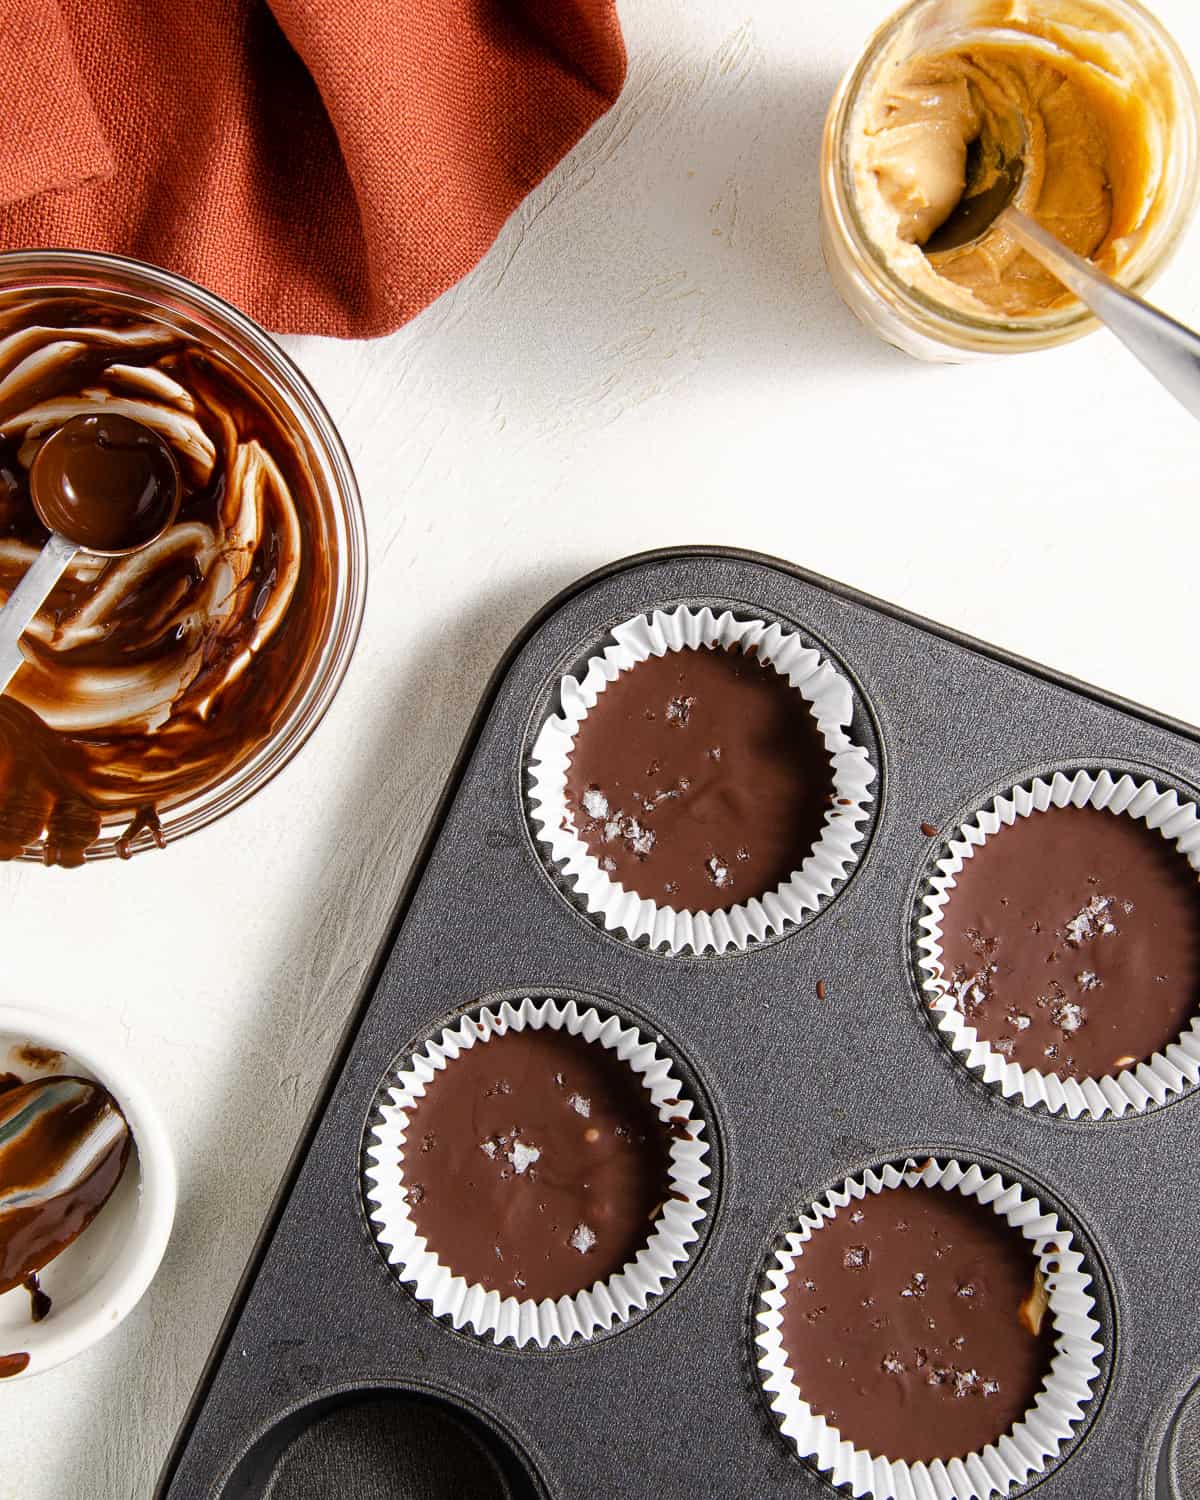
STEP SIX: Pour the second half of the melted chocolate on top of the cashew butter mixture. Smooth the melted chocolate (if preferred) evenly over the top of the cashew butter. Top with flakey sea salt to elevate the flavors!
STEP SEVEN: Place the muffin pan in the fridge for 30-45 minutes or in the freezer for 15-20 minutes to solidify.
STEP EIGHT: Remove liners from the tin and store in the fridge or freezer.
How to Store
Store bought Reese’s Peanut Butter Cups or Justin’s Peanut Butter Cups can last at room temperature for months on end. These chocolate cashew butter cups are best kept in the fridge or freezer. Because of the coconut oil, these cashew butter cups should not be kept on the counter or at room temperature.
These homemade nut butter cups can stay in an airtight container in the fridge for 1 month or in the freezer for up to 3 months.
Frequently Asked Questions
This recipe makes 4 large nut butter cups or 16 mini cashew butter cups.
This chocolate cashew butter cup recipe will work with any kind of cashew butter, almond butter, peanut butter or nut butter.
You can use any type of meltable chocolate. I have not tried anything other than baking style chocolate bars and chocolate chips.
I suggest using dark chocolate, allergy-free chocolate, or dairy-free white chocolate chips (difficult to find unless online).
Because the chocolate is mixed with coconut oil, the chocolate hardens to form a shell.
Yes! You can use any type of chocolate for this recipe, including white chocolate, milk chocolate or dark chocolate.
Other Healthy Snacks and Desserts
- Homemade Pumpkin Seed Butter
- Chili Lime Roasted Pepitas
- Sour Green Apple Smoothie
- Healthy Mango Pineapple Smoothie
📖 Recipe
Cashew Butter Cups
Ingredients
- ½ Cup Chocolate Chips (dark chocolate for vegan)
- 1 Teaspoon Coconut Oil
- ¼ Cup Cashew Butter
- Sea Salt optional
Instructions
- In a microwave safe bowl, melt the chocolate chips and coconut oil together for 30 seconds.½ Cup Chocolate Chips, 1 Teaspoon Coconut Oil
- Stir the chocolate and coconut oil to combine. If it’s not fully combined and chunks of chips are still apparent, microwave for 15-second intervals until it creates a creamy, thick texture.
- Place muffin liners into a muffin tin. (Use a mini muffin tin with mini muffin liners for mini cashew butter cups!).
- Pour the melted chocolate into the bottom of the muffin liners - pour about 2 teaspoons per cup (one teaspoon for a mini cup). Flatten the melted chocolate to spread across the entire cup.
- Create the nut butter or cashew butter filling by microwaving the nut butter in a microwave safe bowl for 30-seconds.¼ Cup Cashew Butter
- Stir to smooth the cashew butter filling.
- Pour about two teaspoons of the loosened nut butter on top of the melted chocolate bottom per each cashew cup. Aim for the center, however it does not matter! Add nut butter to each cup.
- If there’s extra nut butter, divide evenly throughout the cups.
- Pour remaining melted chocolate on top of the nut butter and bottom chocolate layer (about one teaspoon per cup). Try to drizzle evenly to cover the entire top of the nut butter filling. It’s okay if the tops of some show the filling inside! (If there’s remaining chocolate, you can add it on top of each chocolate cup or lick off the spoon!). Flatten the chocolate over the top to cover as much as possible.
- Sprinkle with optional sea salt for an extra irresistible bite.Sea Salt
- Place the muffin tin in the fridge for 30-45 minutes or in the freezer for 15-20 minutes, until the cups have solidified and the tops are hardened.
- Once solidified, remove the muffin tin and remove liners from the tin.
- Store (in the liners) in the fridge for up to 1 month in the fridge or up to 3 months in the freezer.
- Do not store these cashew butter cups at room temperature, as the coconut oil will cause them to melt quicker.

Comments
No Comments